
At first glance this might look like a perfectly nice little Mini, but like many Minis there's a layer of rust lucking below the surface. In this case, there was nothing that would be flagged up as a structural fail come MOT-time, but that was quite a different matter once all the body filler had been removed.
So far I've unearthed severe corrosion in: both wing seams where they join the front panel, both a-panels where they're crimped to the flitch panel, both scuttle panel ends under the window seal, and of course both door sills and parts of the sill-step sections. There're also some nasty rust blisters along the bottom of the driver's door.
After some cutting away at the offside doorsill it turned out that a previous repair had been made to the floorpan, which itself had become severely corroded - probably due to it being covered over with a layer of body filler and finished with a quick coat of stone chip, most likely a quick bodge repair to get it through an MOT.

There was severe corrosion to the nearside portion of the scuttle panel which had progressed under the rubber windscreen seal. Having removed the windscreen and cut away the section of scuttle panel, it became apparent the top of the bulkhead and dash rail were also badly corroded, as was the gusset panel supporting the underside of the scuttle. In fact, the gusset panels on both sides were so badly corroded big chunks of them simply broke away and fell out when prodded.

Thankfully with the wings and scuttle panel removed there's really good access, so all the damaged metal was easily cut out and replaced.

The replacement scuttle panel was lined up, having first punched holes for plug-welds to the solid metal behind.

All the welds were then ground back with a grinder and cleaned up further with a flap disc.

New gusset panels were welded in place, primed and seam sealed. I like to drill a 20mm hole in the centre so I've got good access for injecting cavity wax once the bodywork has been completed, at which stage I'll fit a rubber grommet to close the hole.

Once the scuttle panel had been replaced I painted the dash rail, insides of the A-pillars and the edge of the windscreen aperture with 2K primer and direct gloss. The 2K paint is far better at sealing the repaired area than a 1K primer, which should prevent it corroding again in the future.

The front panel was primed and coated with U-POL Gravitex, and then painted with a 2K direct gloss. I chose to do this prior to welding the front panel to the inner wings as this area is difficult to access without removing the engine and subframe.


The front panel and wings were all aligned and fixed in position with locking pliers, then once the alignment had been checked the mounting tabs were welded to the front panel. The wings were then welded to the front panel and tops of the inner-wings.


Having removed both A-panels, I was relieved to see that the flitch panels where the A-panels attach were in fairly good condition and required only a light sand to bring back to bare metal.

The new A-panels were crimped and welded into position.

The worst corrosion was to the front offside doorsill, and the adjoining floorpan section which had seen an 'MOT repair' in the past. This whole section had to be cut out and replaced with fresh metal.


At some point in its past this mini had collided with something, and been repaired to some extent, but you could still feel the metal was out of shape. This photo was taken prior to me manipulating the deformed metal back into something resembling its original shape with a slide hammer. Then I sanded back to bare metal and primed with 2K epoxy, which was followed by a couple of light skims of body filler and two more coats of epoxy to seal it.

I chose Mipa for this project as I figured using a higher quality paint brand might improve the odds of everything working well together and producing a decent finish, plus I found a paint supplier who had everything in stock and a good score on Trustpilot. I bought all the paint, primer, hardener, thinners from Marlow Paint Supplies. I've spoken with them on the phone and they're super helpful, and get orders shipped out pronto too.
The products shown are as follows...
- V25 thinners, for the OC 2K Acrylic topcoat
- OC 2K Acrylic, 'direct gloss' topcoat, colour matched to Chawton White (NAL)
- EP 100-20 Epoxy Primer, with pre-mixed grey tint
- E10 Hardener, for the EP 100-20 epoxy primer
- F54 primer surfacer, a grey high-build primer
- UPOL Guide Coat, for identifying high / low spots when block sanding
- HS25 Hardener, for the OC 2K Acrylic topcoat
- H10 Hardener, for the F54 primer surfacer
- V10 Thinners, for the F54 primer surfacer
- EP Thinners, for the EP 100-20 Epoxy Primer
- OC Super Black, gloss black topcoat, for some MGB seat frames

I've seen plenty of people online spraying 2K products using only a A1P3 filter respirator, but I knew I'd feel more comfortable using a proper air-fed mask. So I purchased a DeVilbiss PROV-650 air-fed visor, but this meant I needed a much bigger air compressor to use it.

My initial plan involved joining the new 200 litre belt-driven unit to my existing 100 litre compressor, but it turned out this wouldn't work as they operate at different pressures. So I chose to use the bigger compressor for general workshop use, and for supplying the air-fed mask while spraying, with the smaller compressor supplying just the spray gun.
The only downside to this arrangement was having to drag two air hoses around while spraying, but this hasn't been any hassle so far. It's certainly a better option than buying a huge 270 litre air compressor with dual pumps / motors.

Obviously you can't simply connect an air-fed mask to an air compressor and get breathable air, it would be full of oil, water vapour, and any particles small enough to pass through the compressor's air intake filter. So I installed the ANi 3-stage filter (AH117334), which filters down to 0.01 microns, with a dedicated 'clean air' hose that's only used when breathable air is required.

My spraygun setup consists of the following items...
1.3mm fluid tip [SGK-12-13-K] with 1.3mm / 1.4mm fluid needle [SGK-414-K]
1.8mm fluid tip [SGK-14-18-K] with 1.8mm fluid needle [SGK-418-K]
DeVilbiss FLG5 (FLG-G5) Compliant Spray Gun
DeVilbiss Inline Air Filter (HAF-507)
ANi Spray Gun Pressure Gauge Regulator (AH085406)
I'm using the 1.8mm fluid tip/needle for spraying primers, the 1.3mm is for the gloss topcoat. The inline filer goes between the air hose from my 100 litre compressor and the spray gun via the ANi pressure regulator / gauge. The regulator is usually mounted directly to the spraygun, but I've placed it between the inline filter and short hose for better manoeuvrability while painting inside the boot.


The rear seats had been cluttering up the shed for many months, so they went straight back in as soon as the paint had cured!

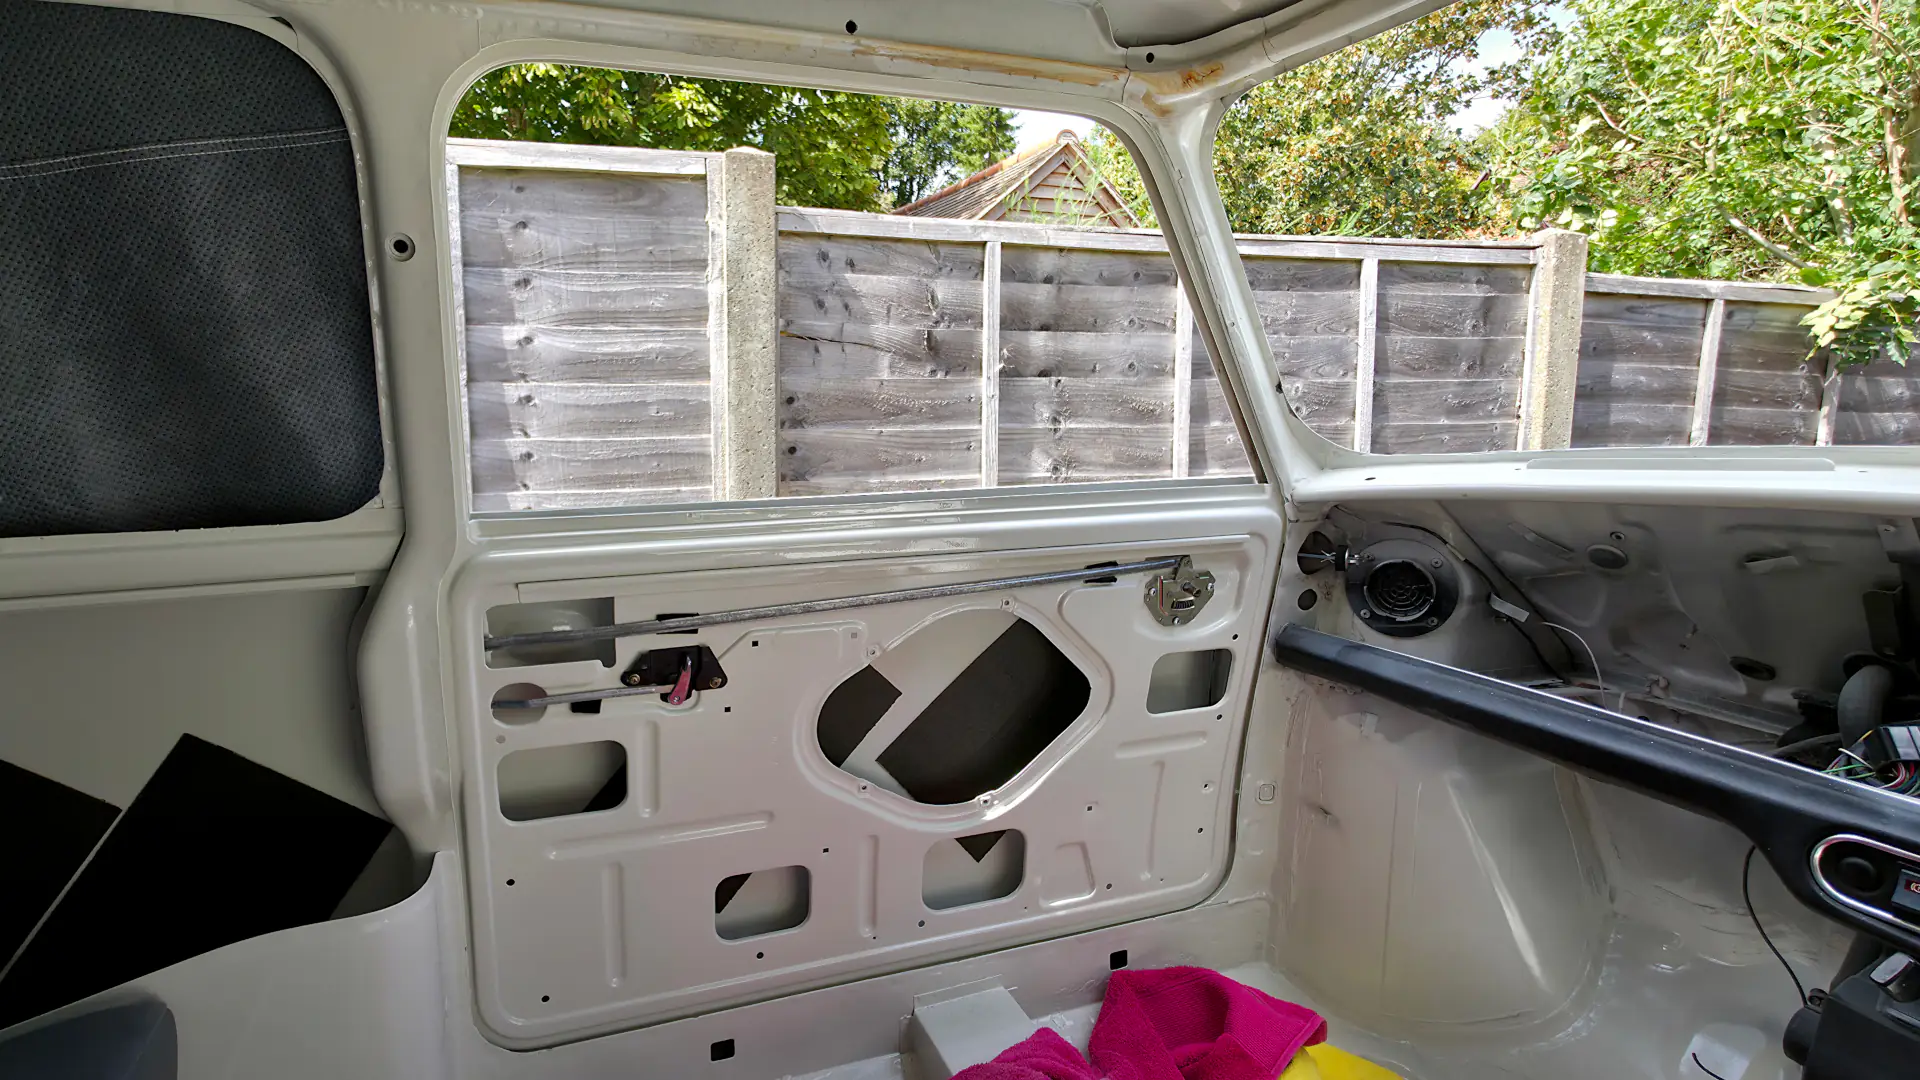
I was surprised by how many sound deadening pads I actually needed. When I removed the original headlining I found only the sound deadening felt (which had de-bonded from the inside of the roof panel) none of the adhesive-backed pads that were fitted in the factory to door skins and rear quarter panels. Perhaps these were only fitted to roofs of later cars?
I installed my last five pads in the roof, six would have been better, but I doubt it would have made any noticeable difference to anything. Once the pads had been stuck down I reinstalled the original sound deadening felt with contact adhesive.
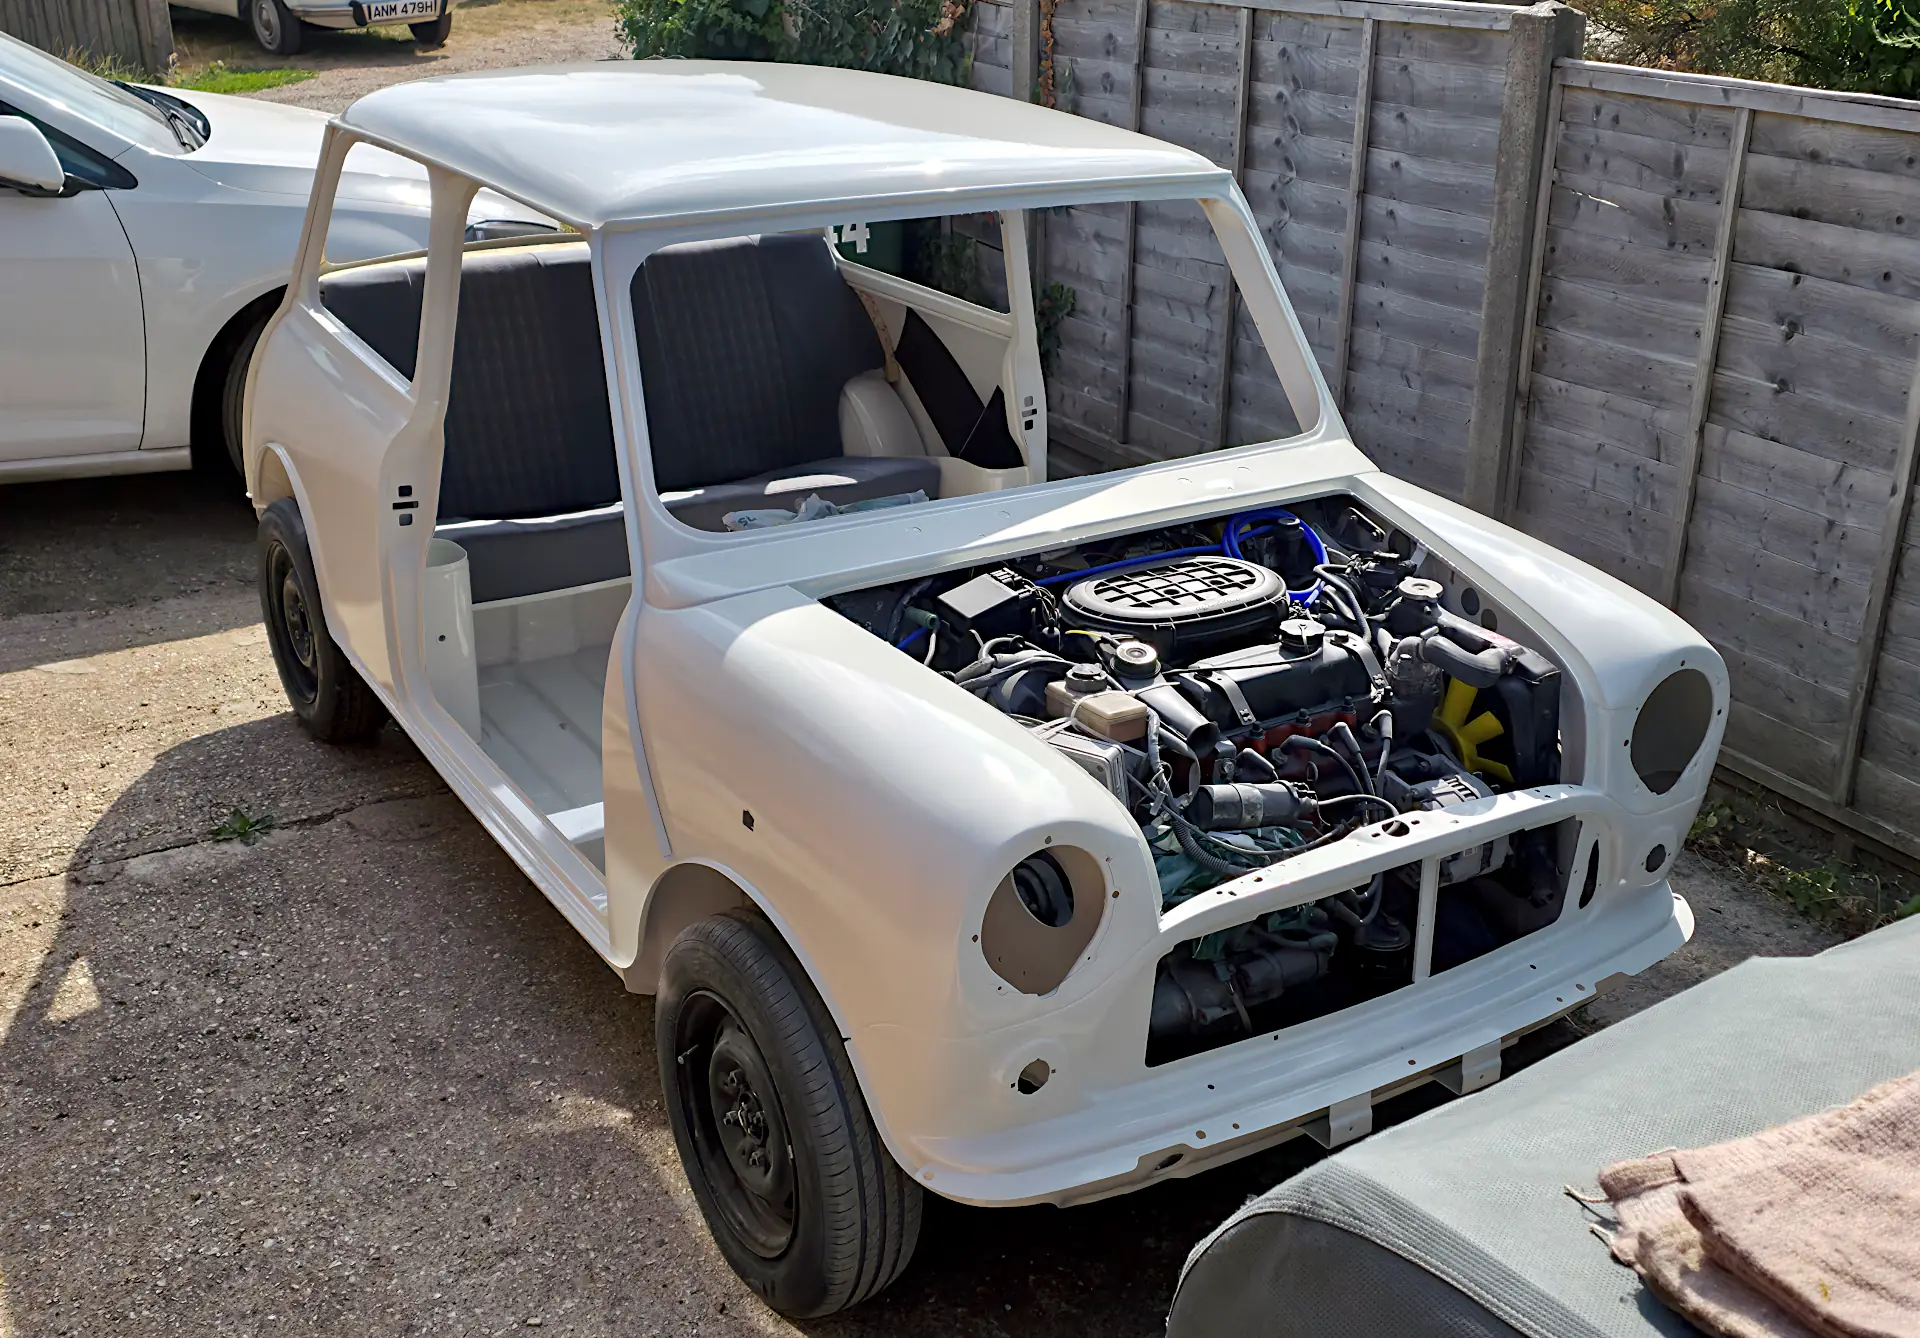
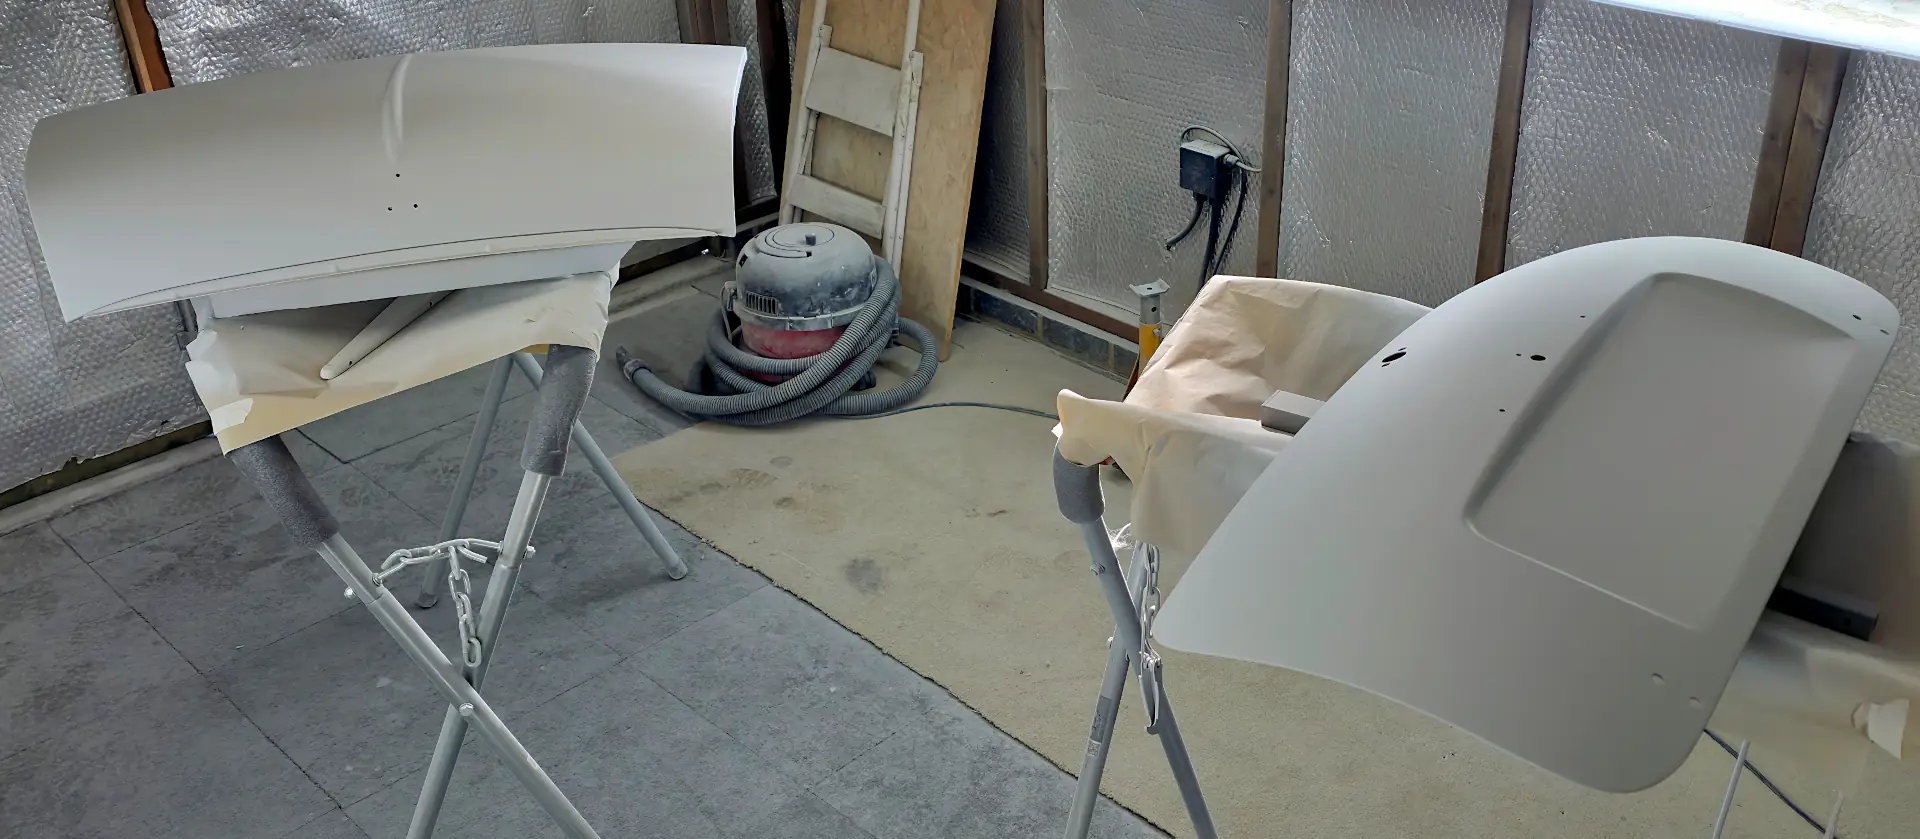
It was such a relief to finally have the shell painted and be able to roll it outside onto the driveway. This created the workshop space I needed to prepare, prime and paint the doors, bonnet and boot lid. So there was still plenty do to before I could start bolting everything back together and make it look like a drivable car again.

Once the door skin had been removed the flange appeared quite corroded, I thought I was going to have to cut out and fit a new door bottom, as I had done with the driver's door. But having removed the worst of the corrosion it became apparent only a short section had to be replaced.

I removed any remaining surface rust with Deox-Gel, and then primed the whole frame with 2K epoxy primer before fitting the new door skin, the inside of which I'd also 2K primed while doing the frame.

I wanted to make the door as resilient to corrosion as possible, and figured the best way to achieve this was by applying a few coats 2K primer to all the mating surfaces. Once the door had been reassembled, painted and put back on the car, I'd coat the inside with Bilt Hamber's Dynax UC. Any water that made it past the weather strips would run down the coated surfaces inside the door, along the cavity wax and out the drain holes; instead of seeping down into the seam where the door skin mates with the flange and slowly rotting it out.
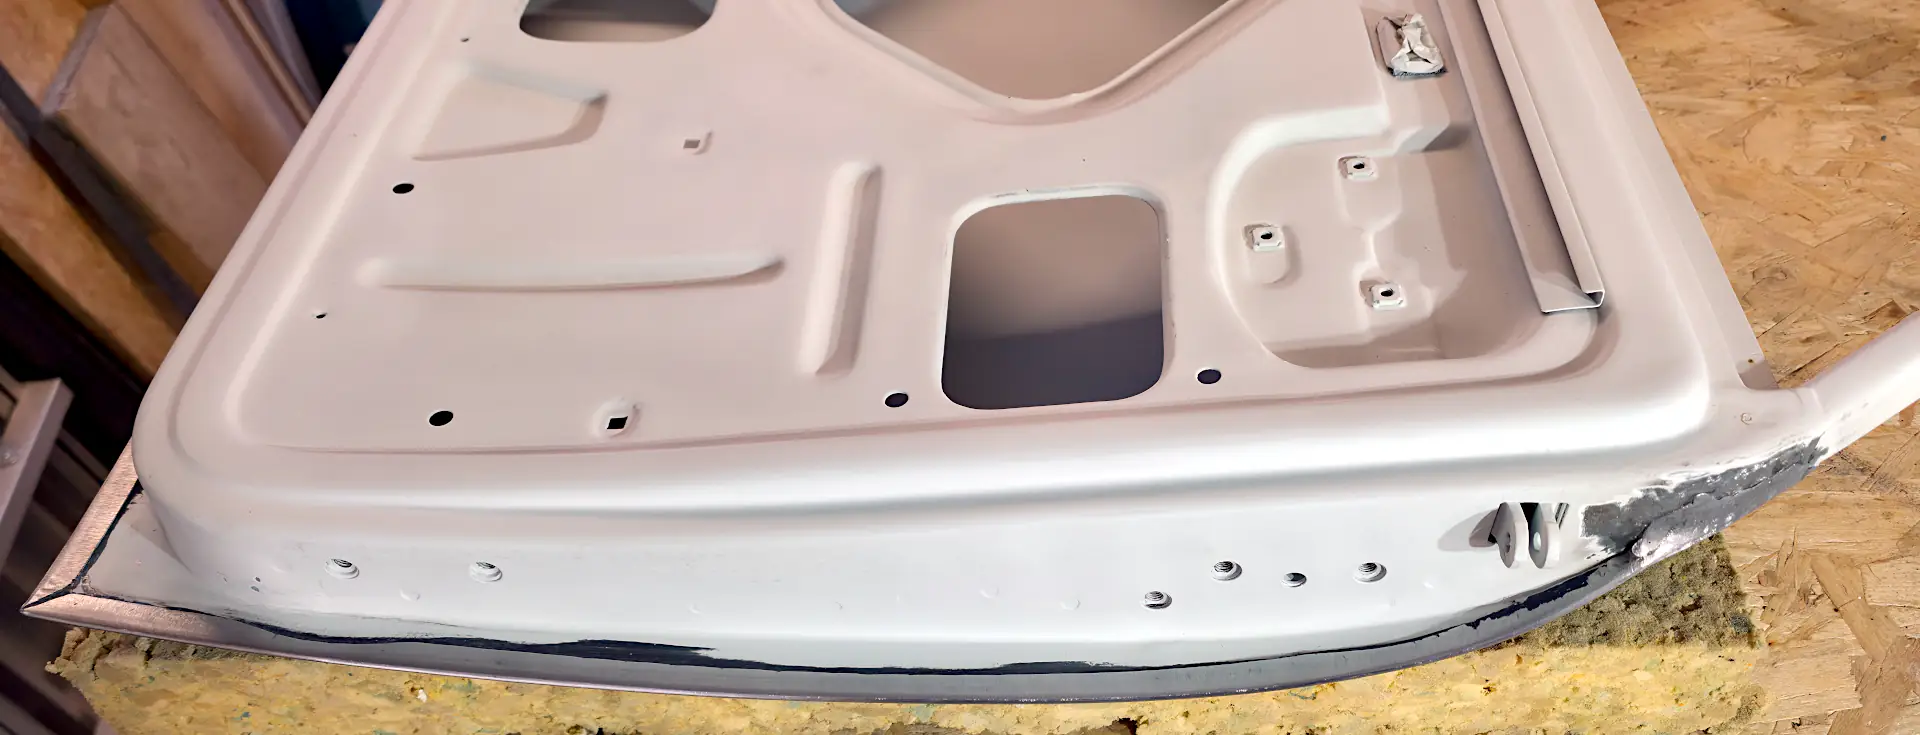
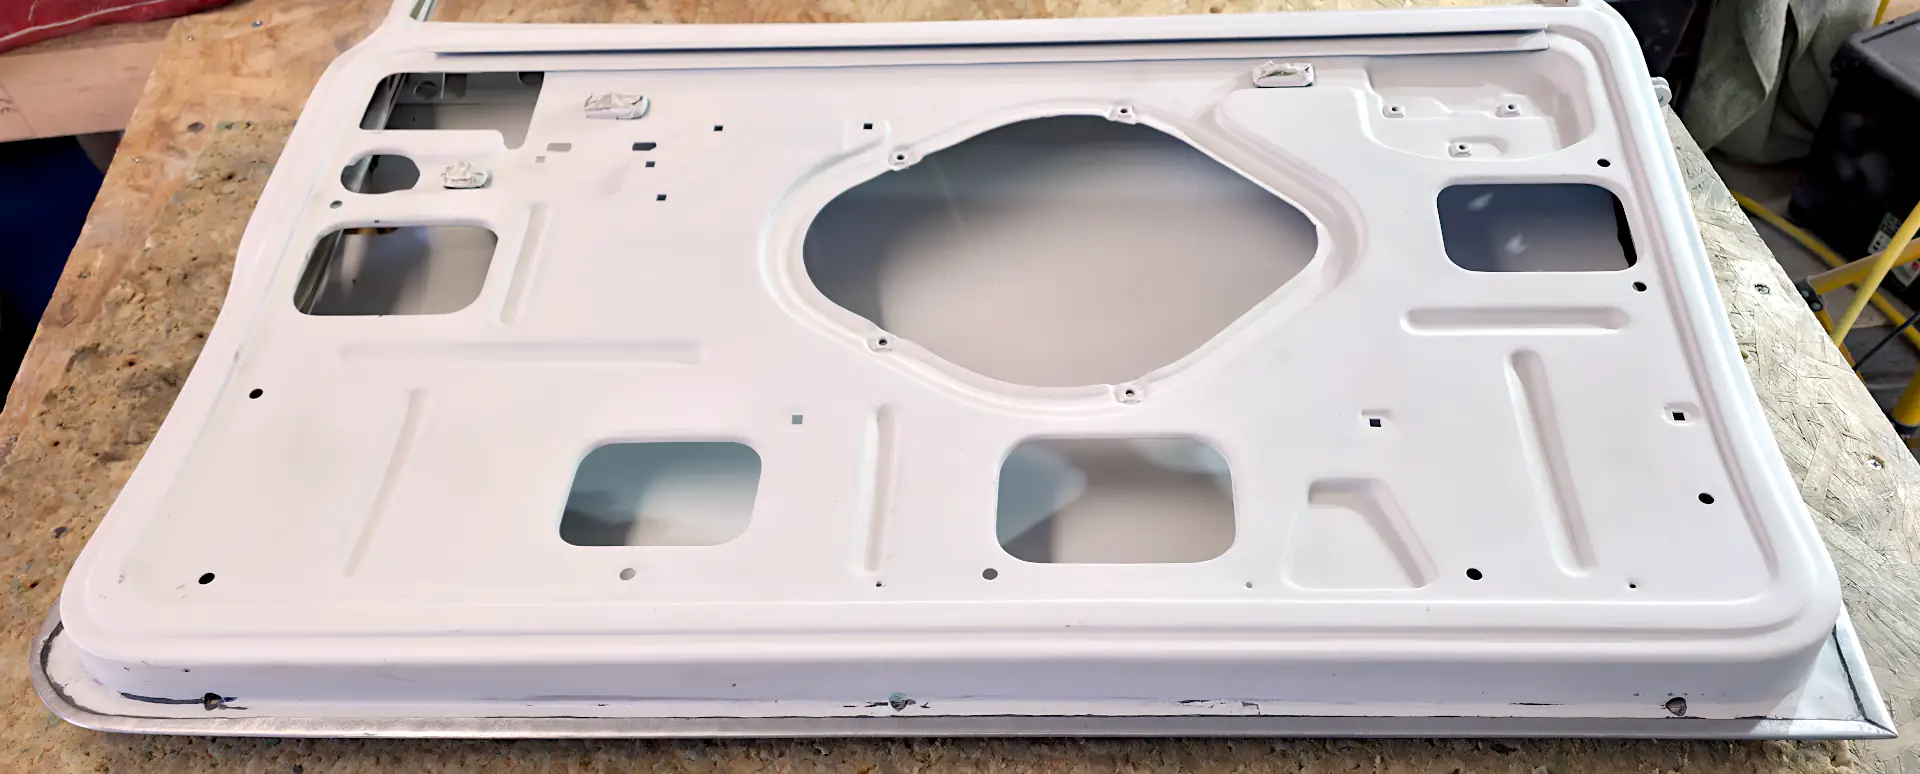

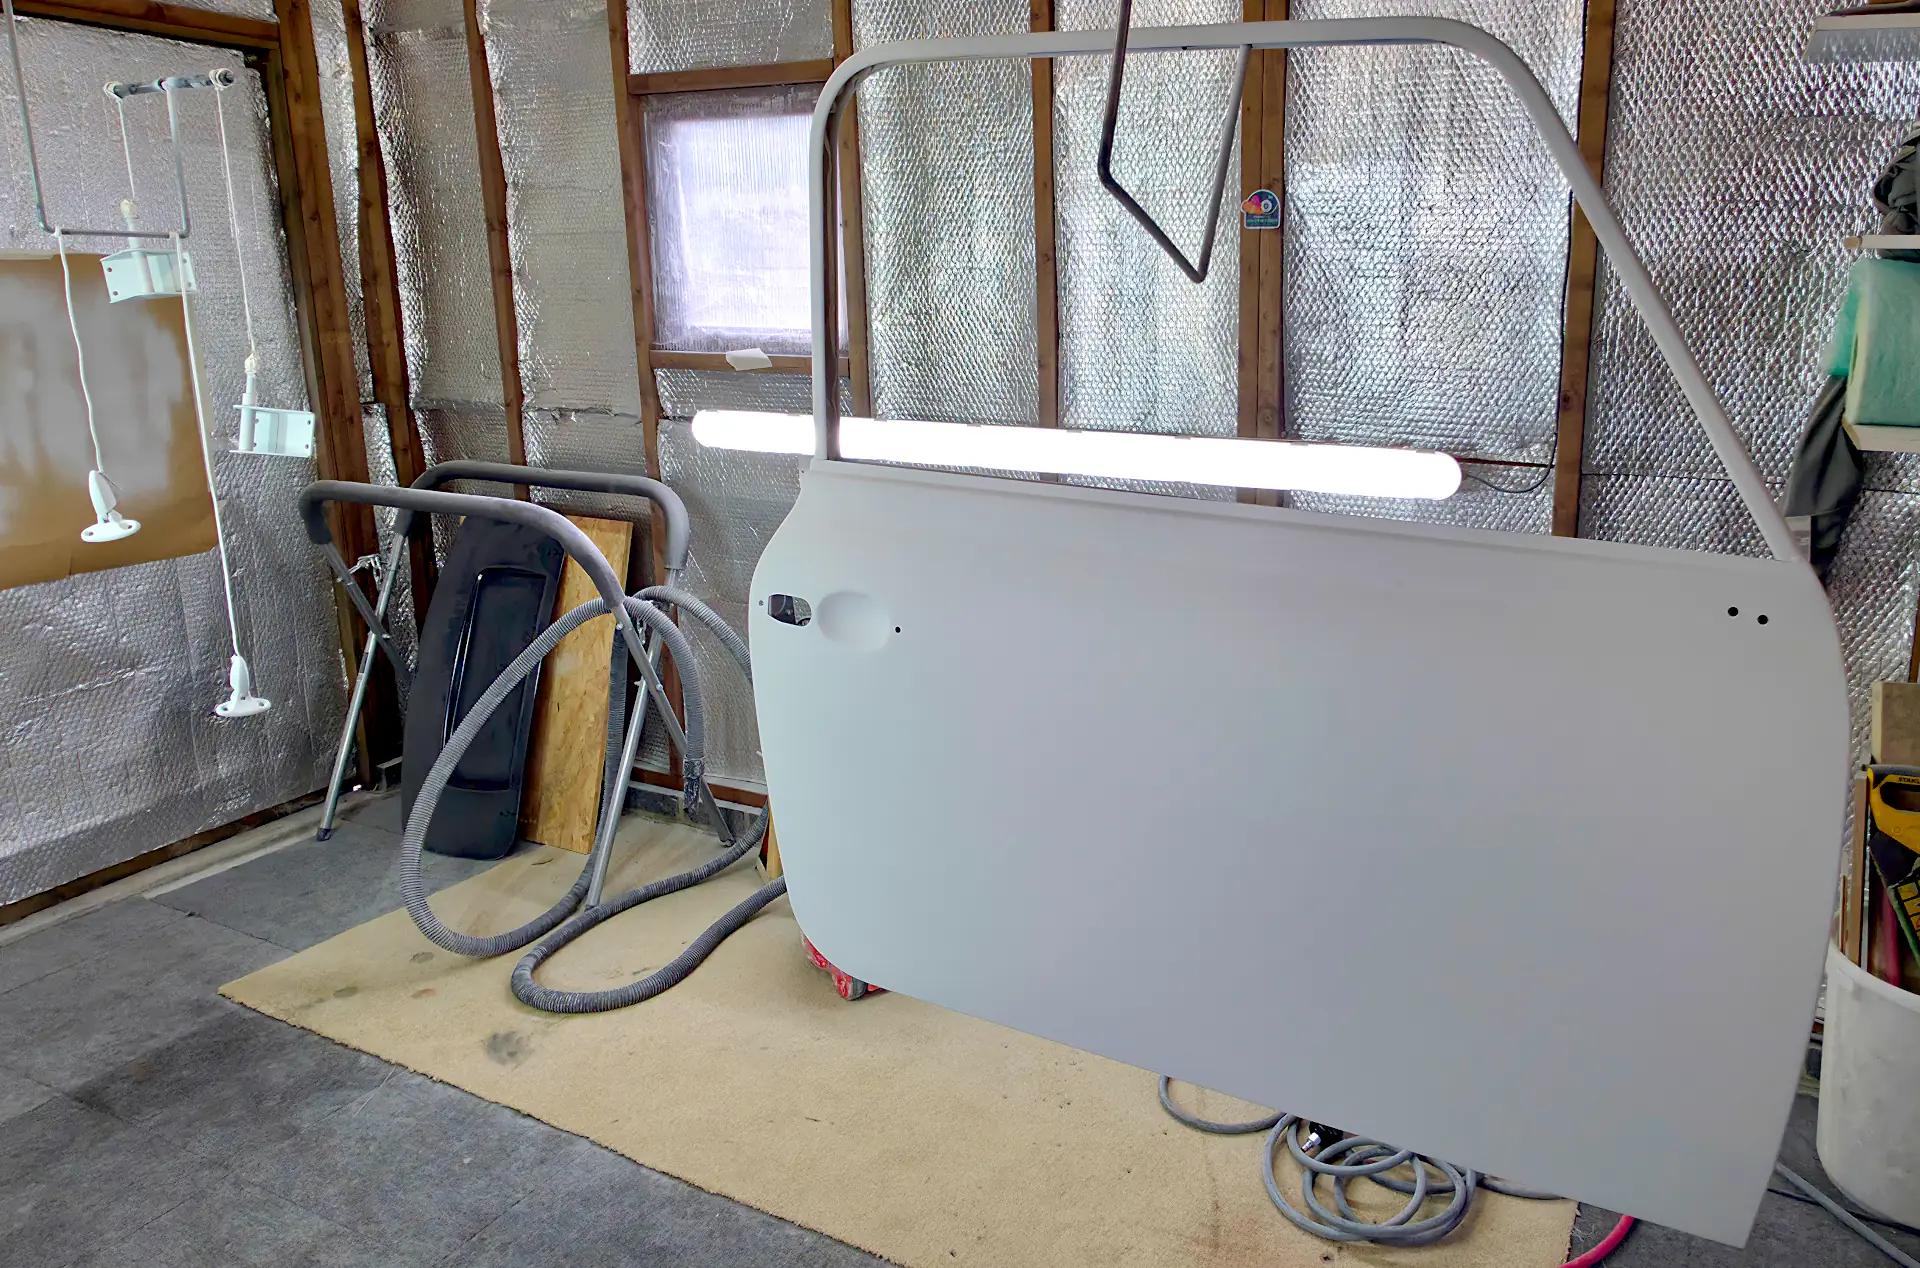
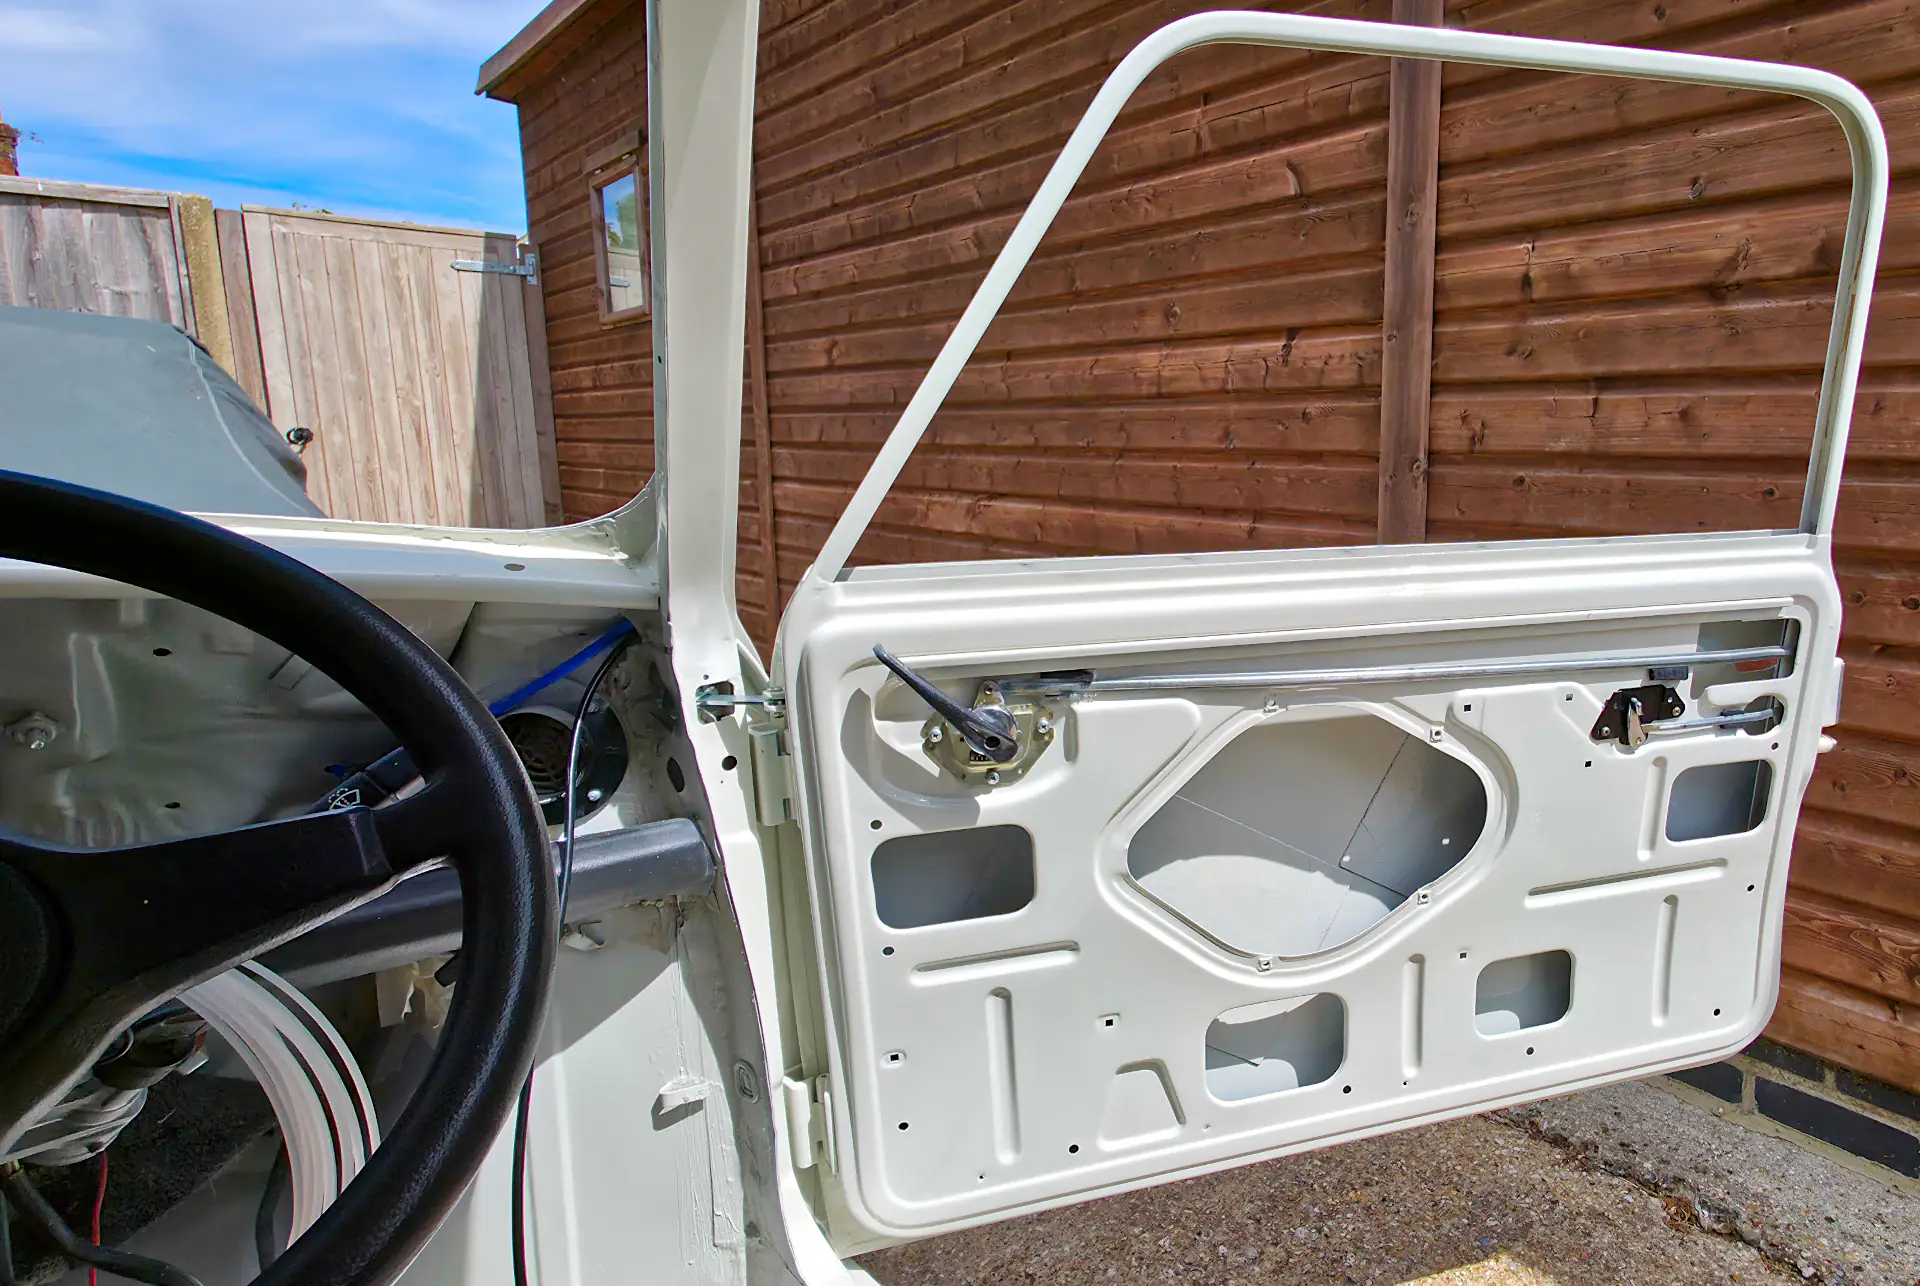
I made some hangers for suspending the doors out of some 8mm steel rod, on which I welded a short length of horizontal rod that would locate inside to top of the window frame. The other ends of the rods were welded to a short length of steel angle, forming a bracket that was screwed to the ceiling.
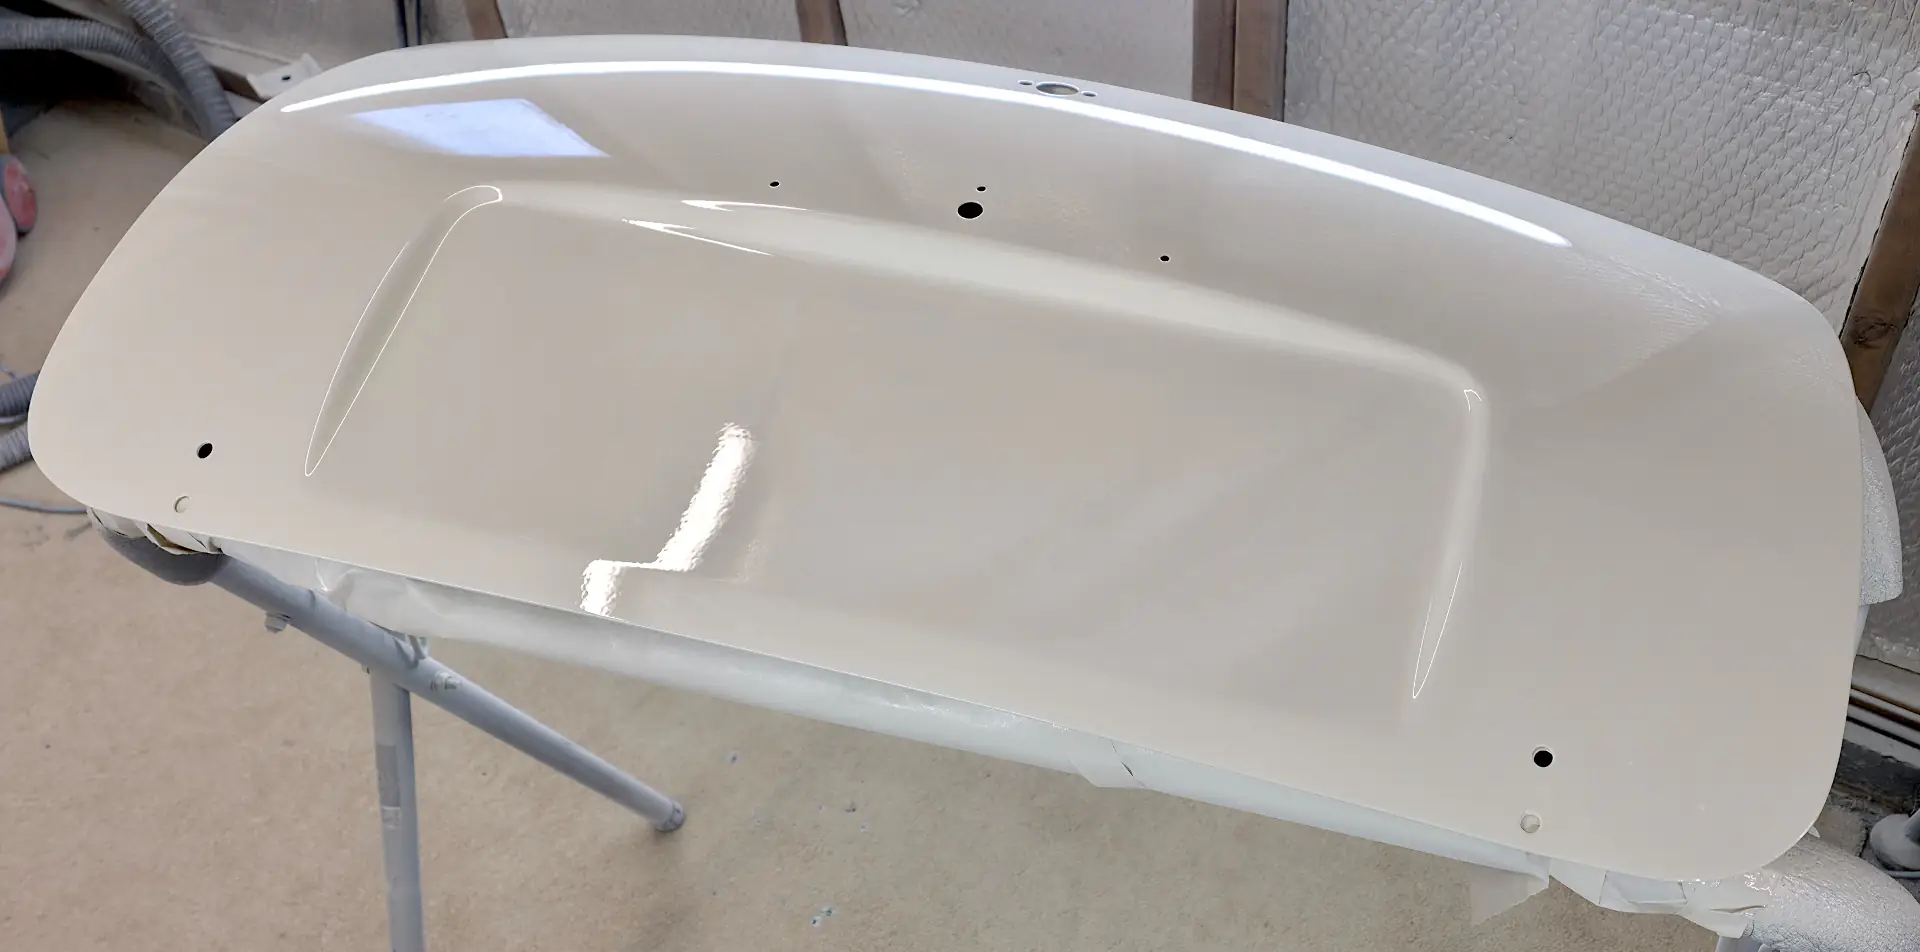
In this photo I'd just finished applying a few coats of epoxy primer to the whole door, the boot lid hinges and front shock absorber mounting brackets. The replacement heritage boot lid can be seen in the background waiting to be prepared for primer.


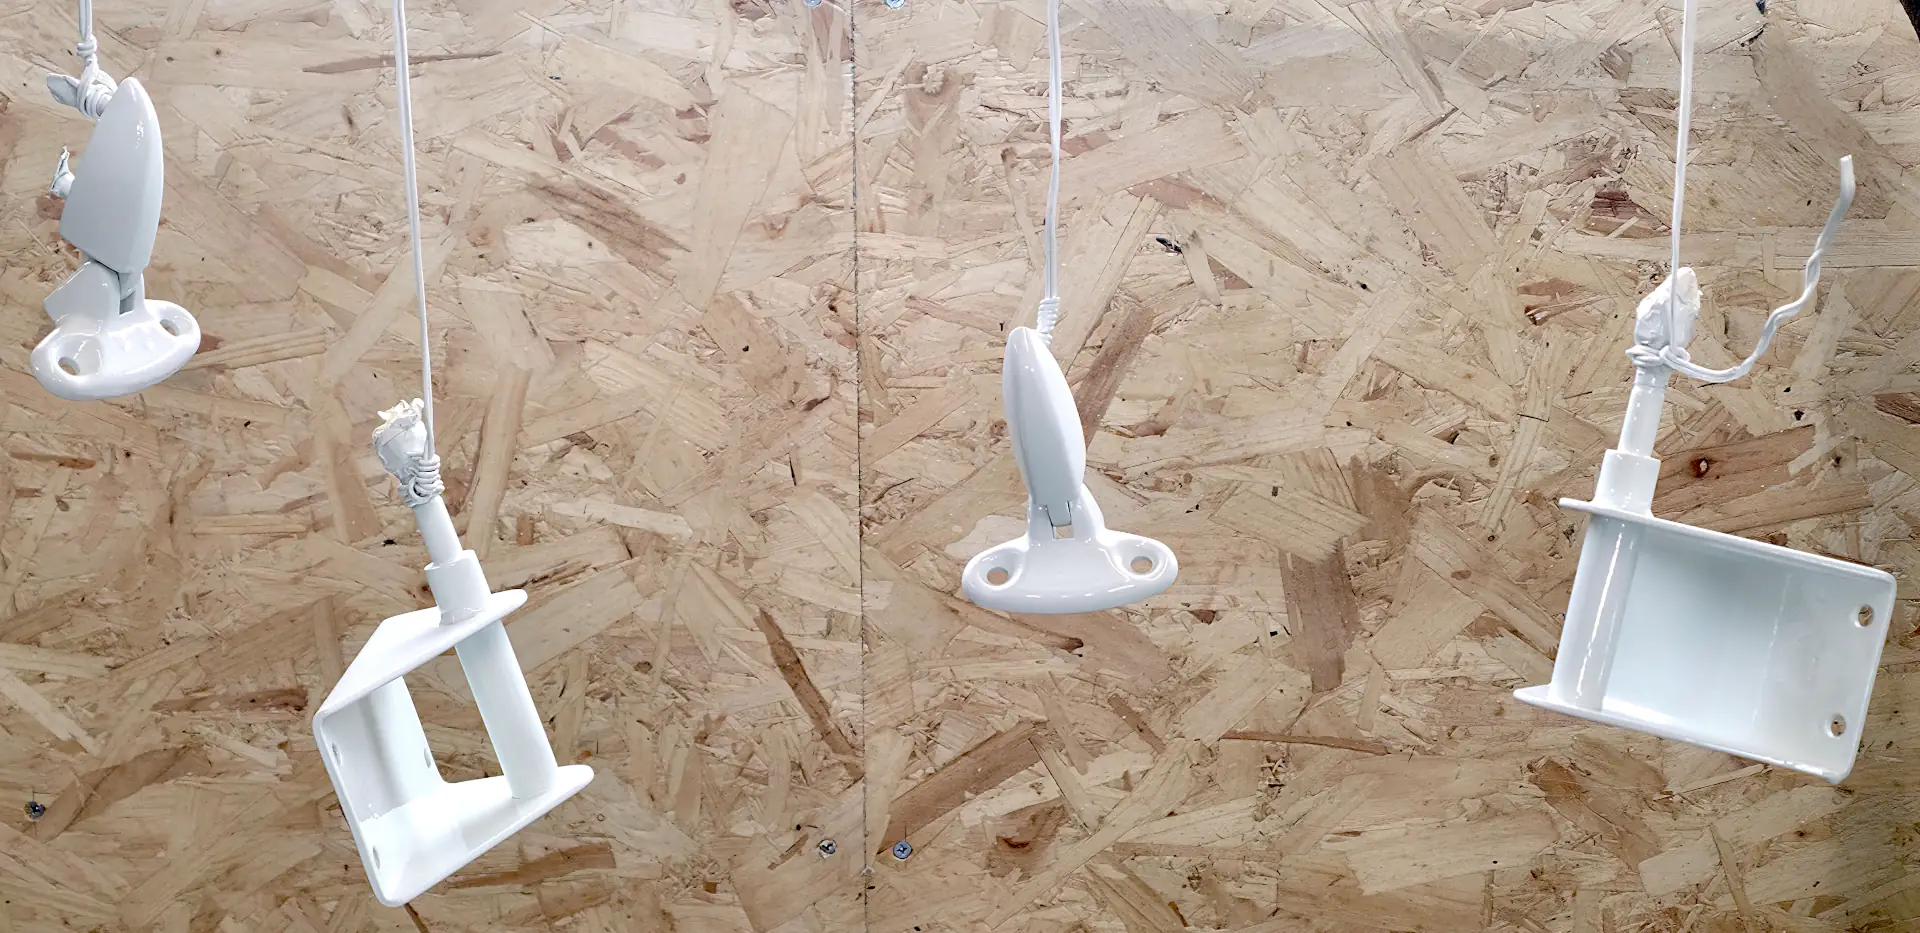
I hung the boot lid hinges and front shock absorber mounting brackets from a trestle using bell wire so I could paint them at the same time as the doors. The area of the inner wing that's concealed by the shock mount bracket is well known for rusting through, so to prevent this I made sure both mating surfaces were epoxy primed and properly painted before reassembling.



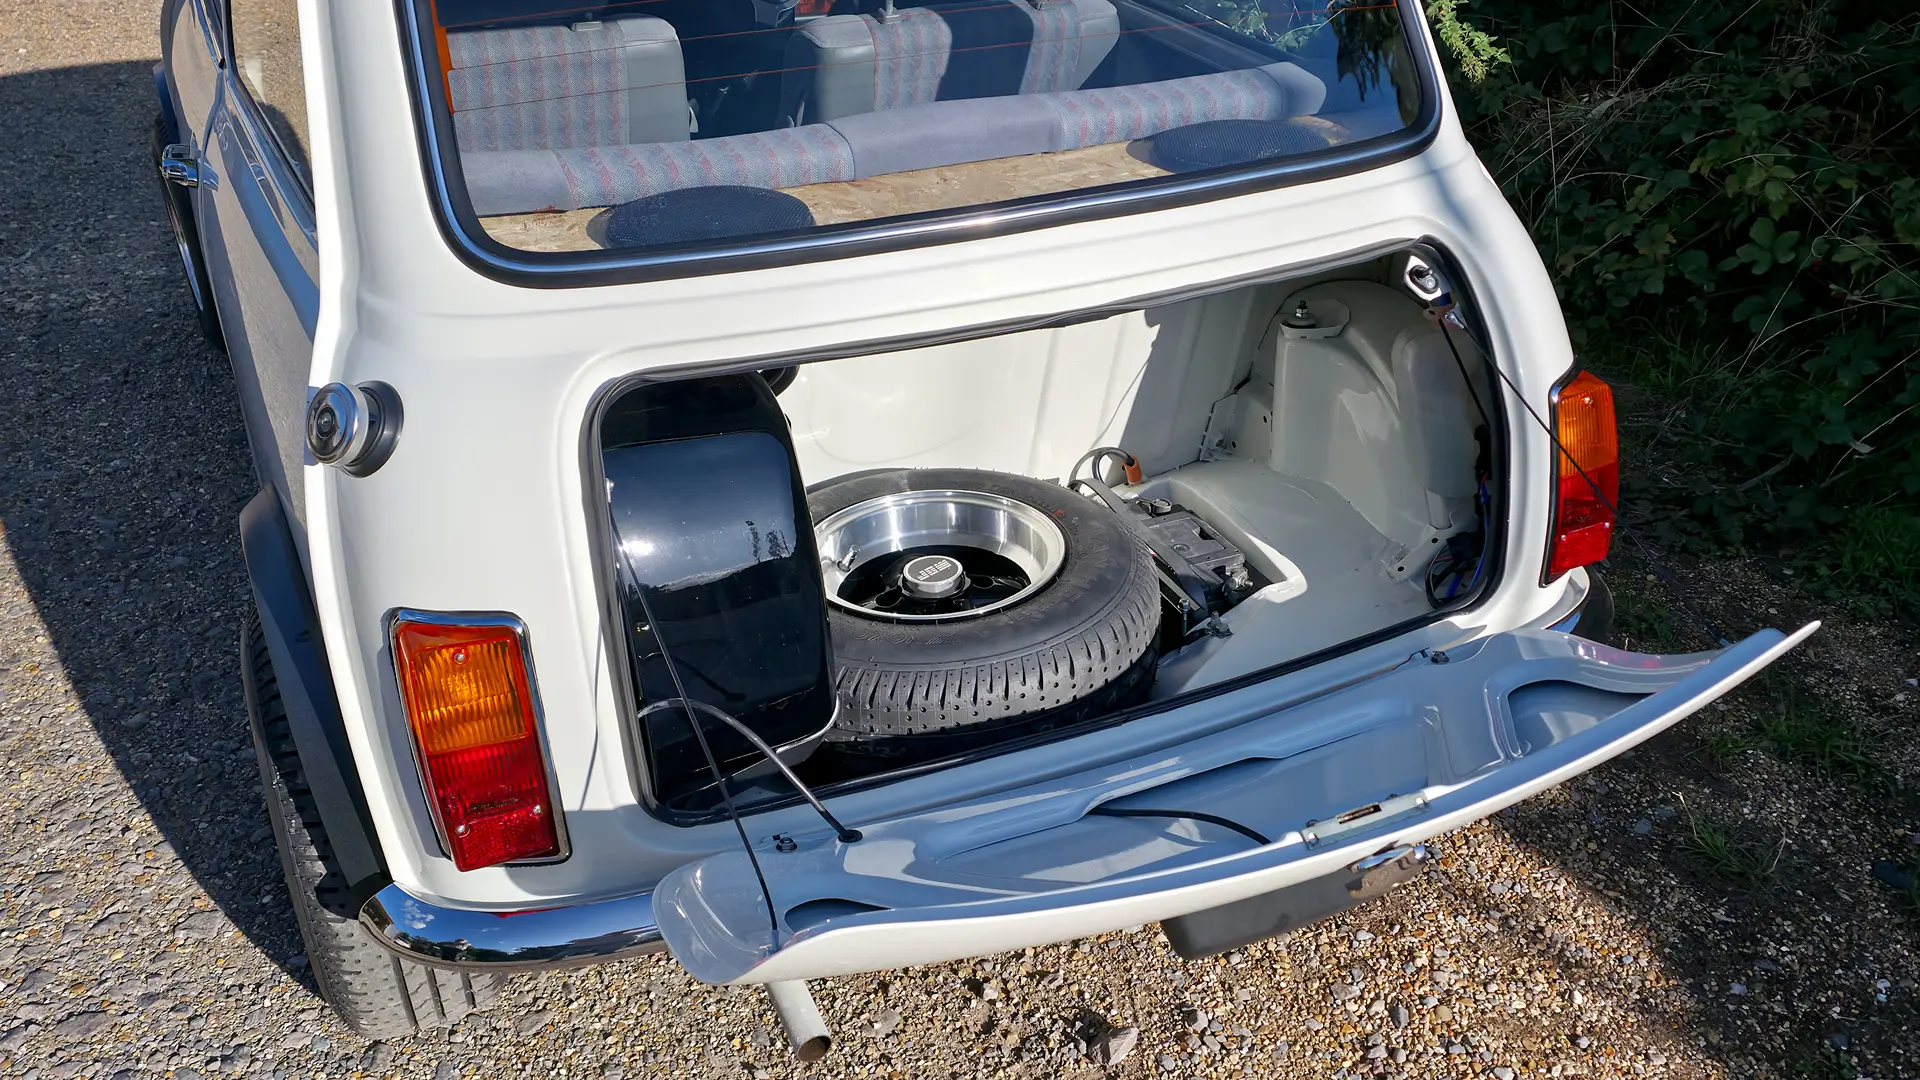
The fuel tank had some minor surface rust along both sides of its bottom seam. This was removed and treated with Bilt Hamber Deox-Gel, ensuring only bare metal remained. I abraded the entire tank and resprayed with 2K epoxy primer, followed by three coats of Mipa Super Black to give a nice durable gloss finish and prevent future corrosion.
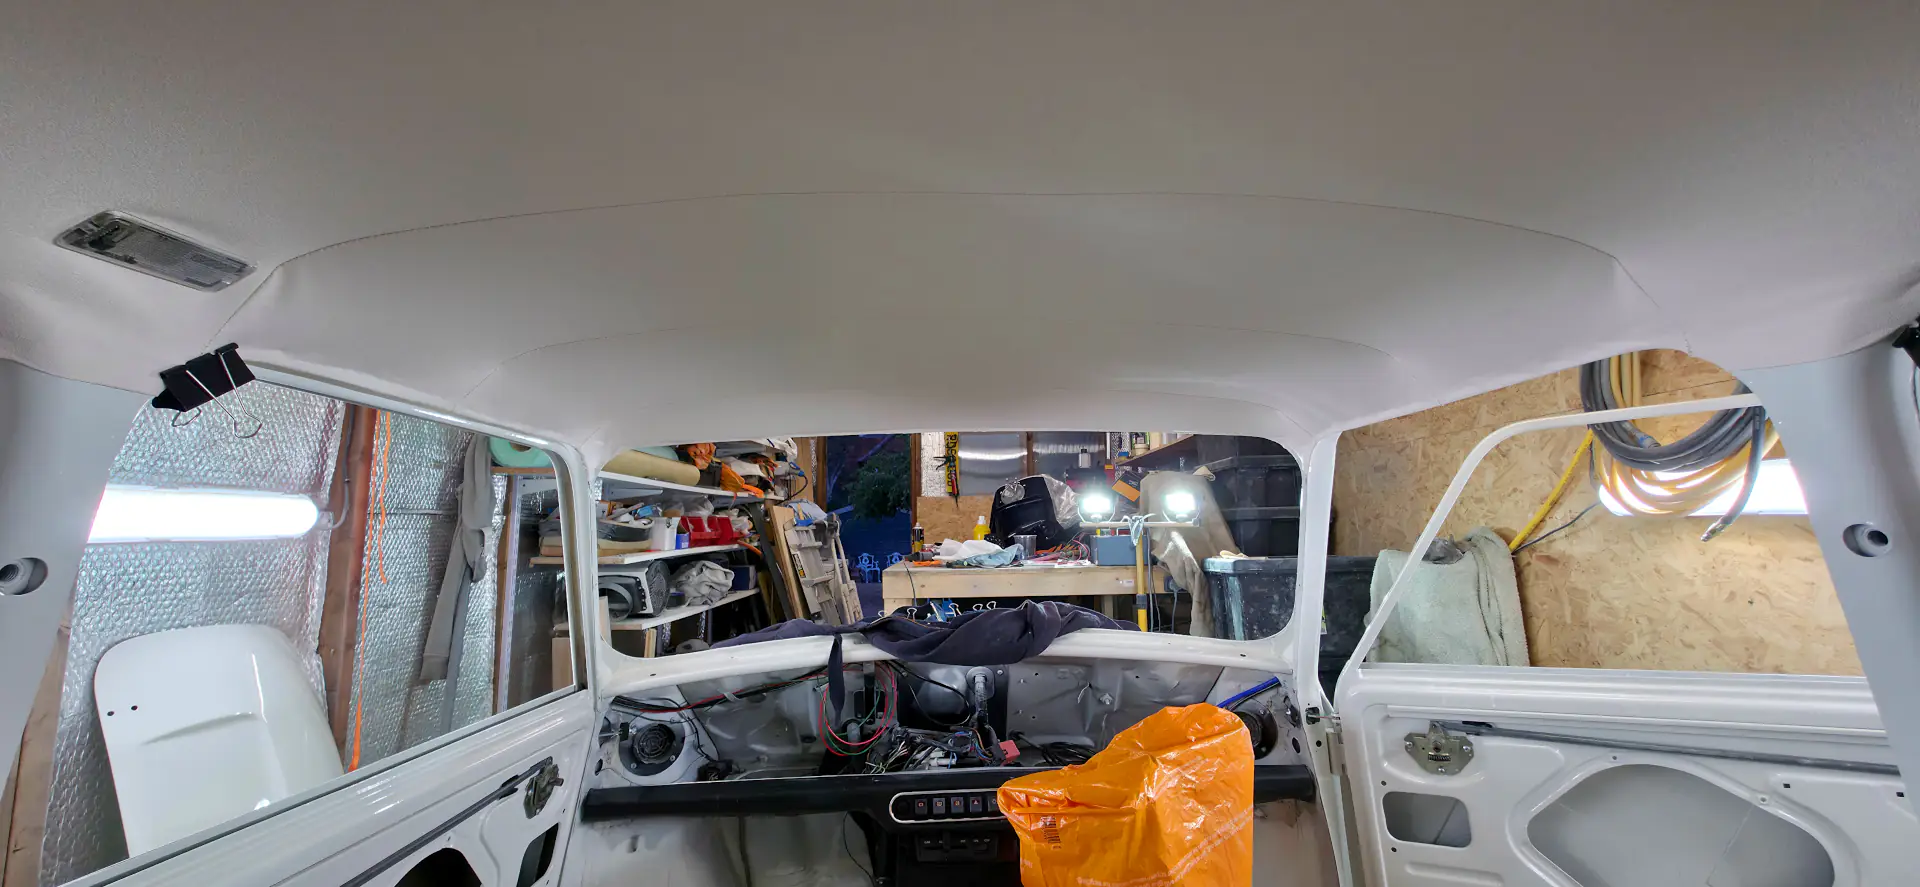
Replacement Newton Commercial headlining installed. I used about forty bulldog clips (only one shown, for some reason) with Evo-Stick impact adhesive to secure the edges to the door and window frames.

All the rocker switches were worn and faded so replacements were installed. Interestingly, the brass tabs securing them in the panel cutouts were much thinner on the replacements and would just bend rather than retain their shape, resulting in a loose fit. To overcome this I substituted them with the thicker brass tabs from the original switches.

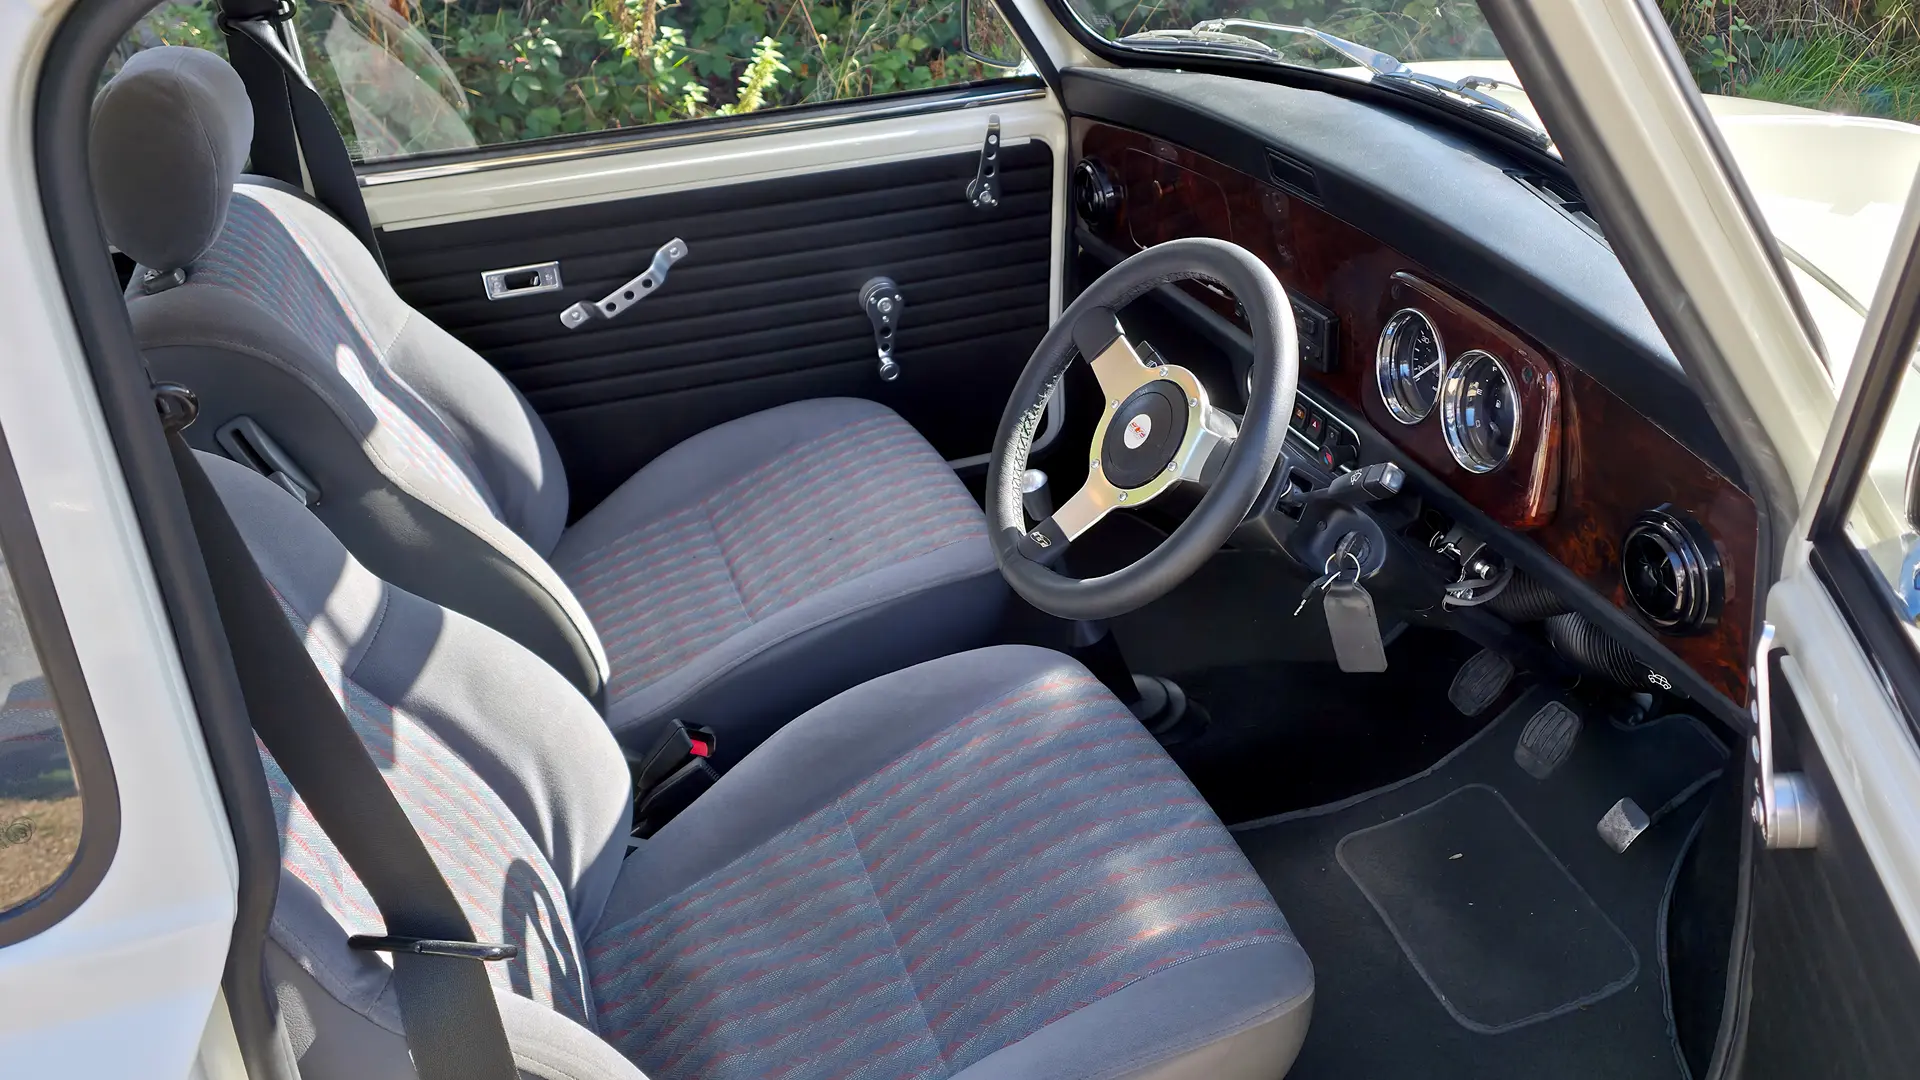
The new black interior vinyl trim kit fitted, along with the alloy handle set I got for Christmas. Thankfully the original silver plastic trims for the edge of the companion bins was salvageable, this part is no longer available, I would have otherwise needed to fit the earlier metal trim.
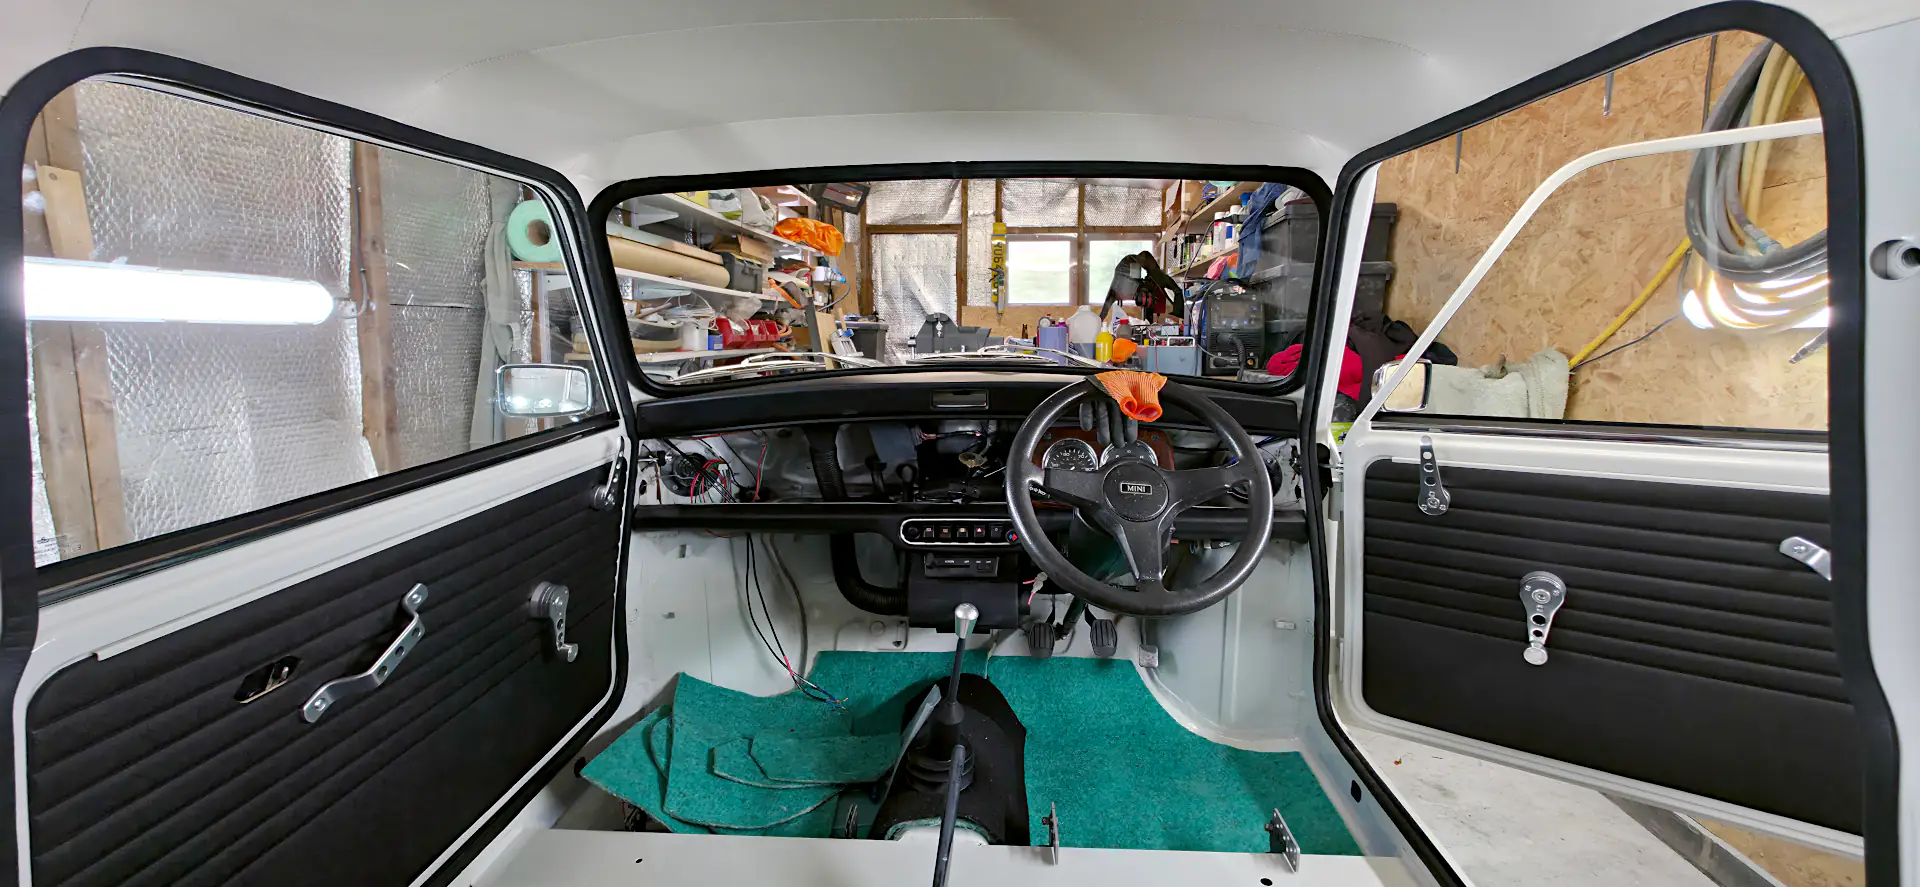
Now the headlining was installed I could refit all the glass. I drove to Somerford Mini in Wiltshire to pick up a new windscreen as the original one had too many chips to be reused; the remaining glass was fine though.

Focal ACCESS 165 AC 6 ½ speakers installed in the rear parcel shelf. I had some 18mm OSB lying around which I used to make a speaker board. The additional height of the board raises the speakers, so they could be installed without having to expand the original holes.
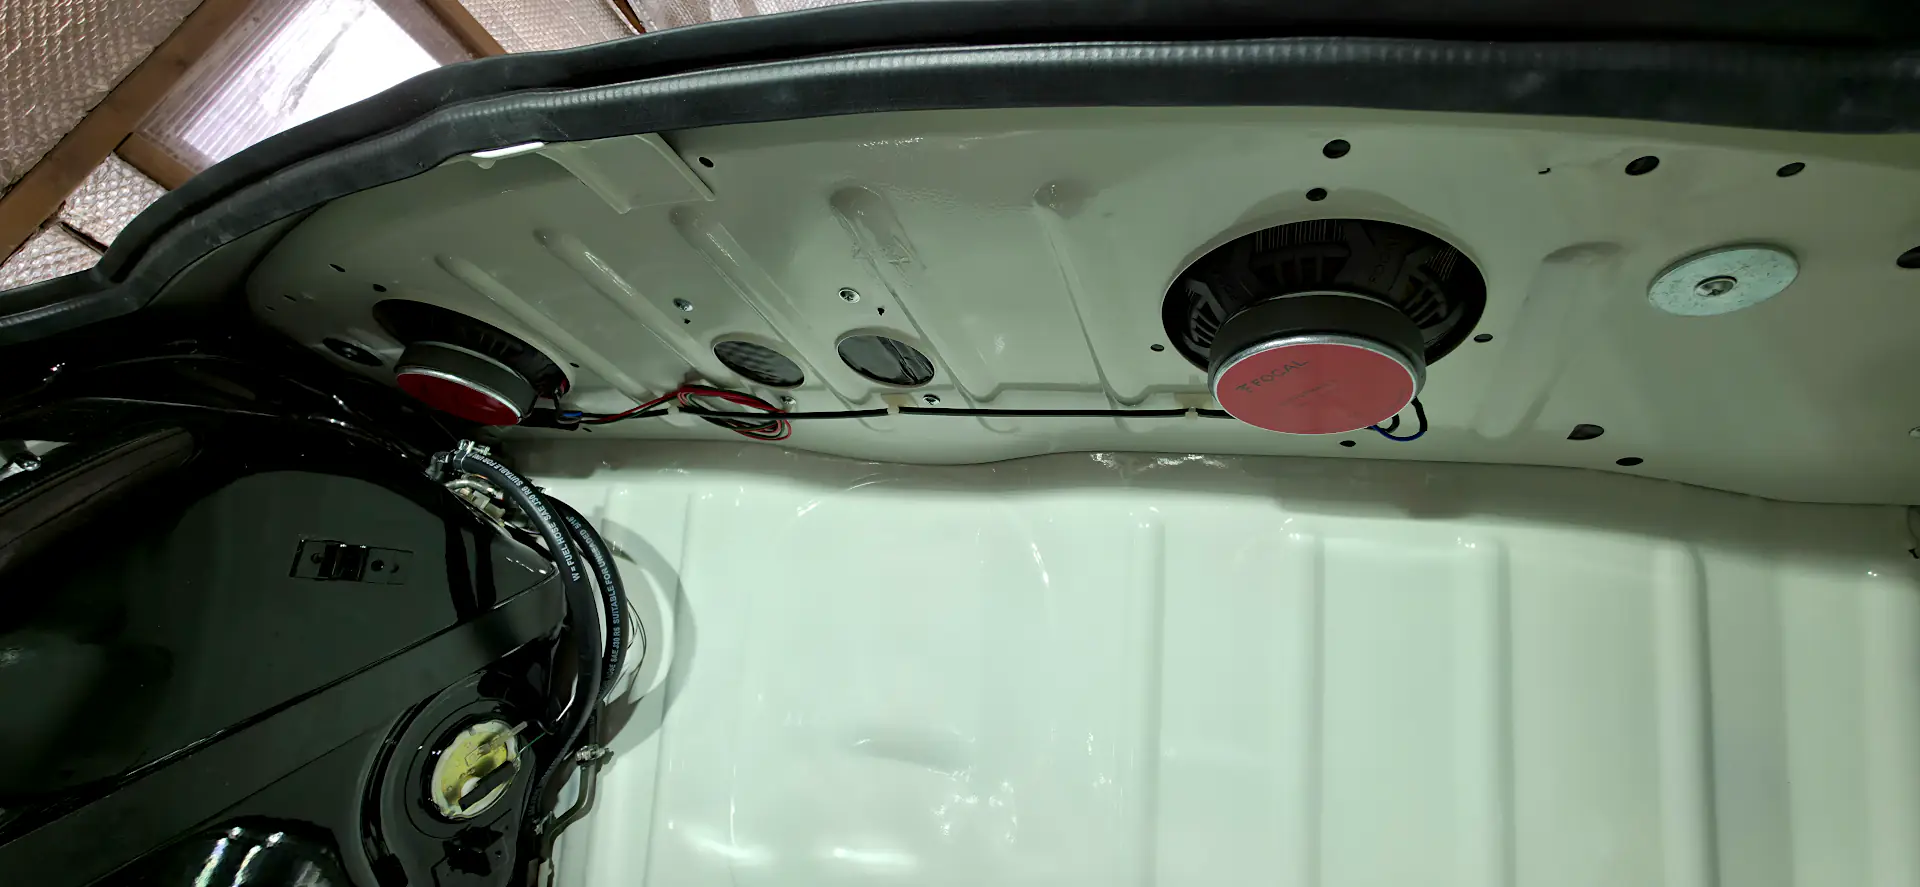
The speaker board was secured with flanged self-tapping screws and penny washers. The speakers came with some adhesive-backed sound deadening material which I used to pad out the metal before fixing the OSB shelf in place.



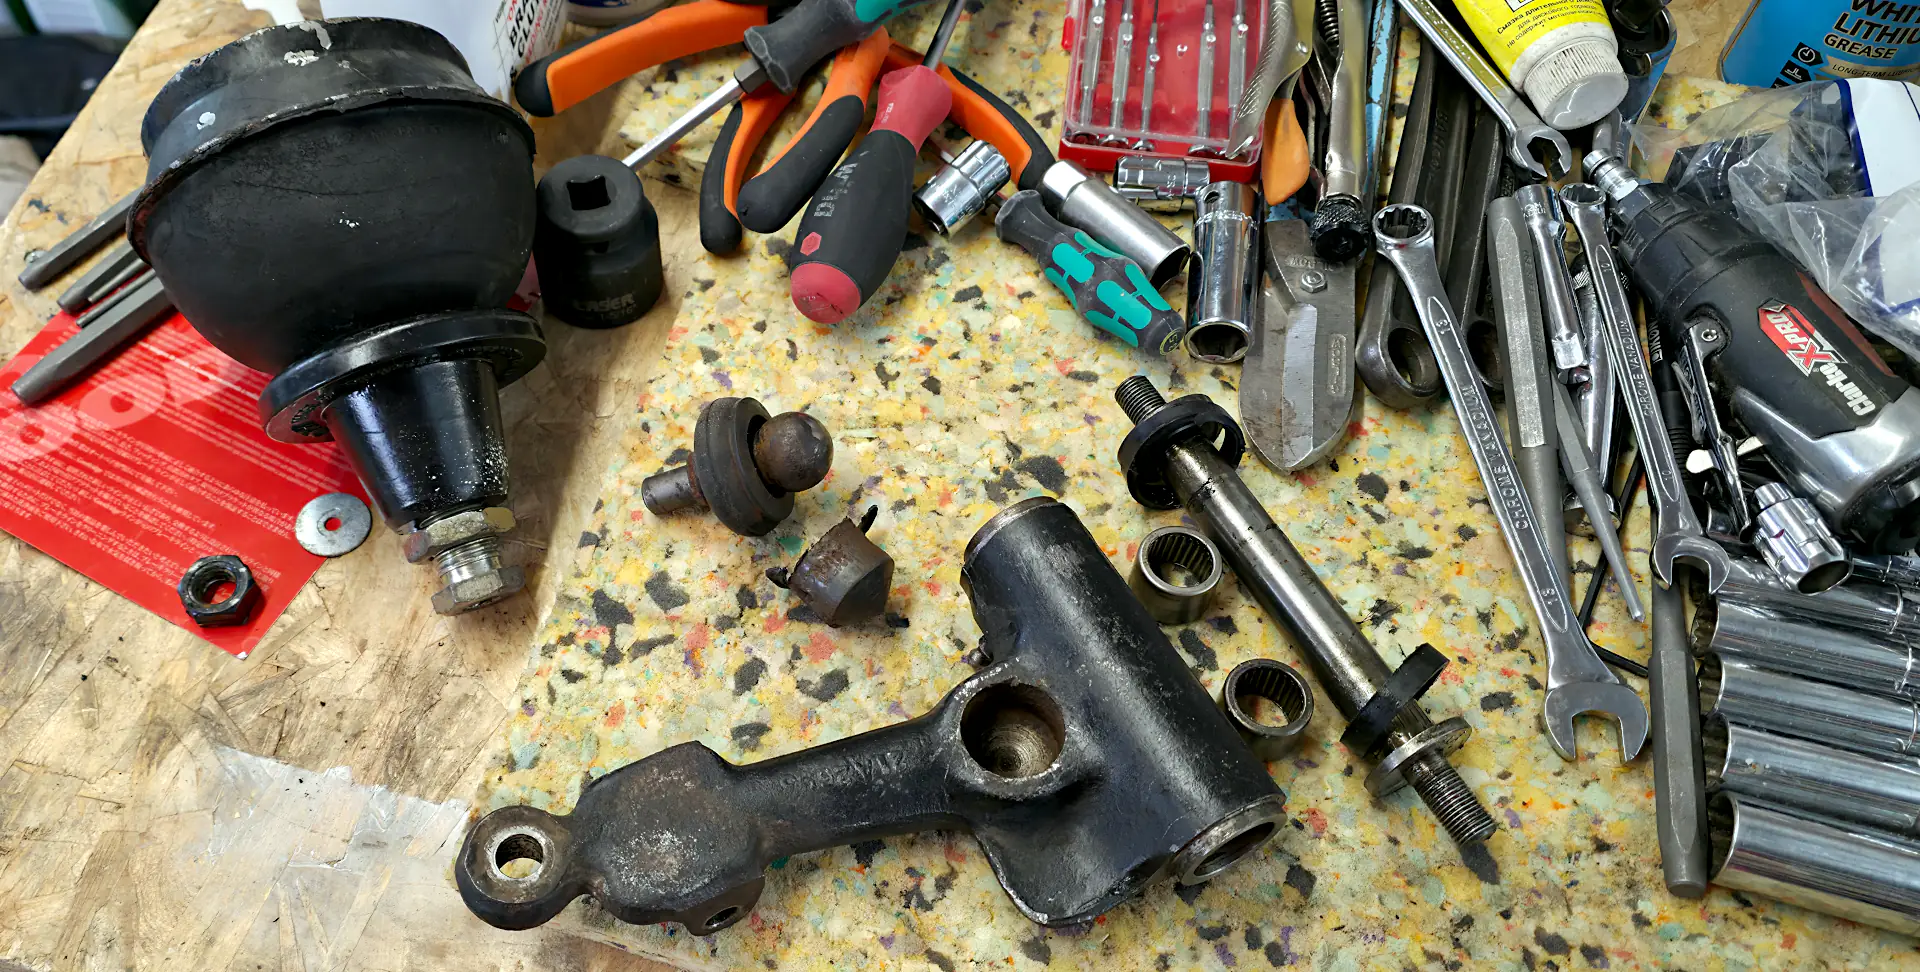
Both rubber suspension cones were looking very worn. One had started to collapse, and the adjustable ride height suspension trumpet had been extended to compensate. The other cone was poorly made, with the rubber part offset from the metal base, making it impossible to insert the suspension compression tool.
These cones were only six years old, according to the paperwork that came with the car. I replaced both units with MiniSpare's Evolution rubber cones (FAM3968EVO, pictured right) which seem of a superior construction and should hopefully last longer.
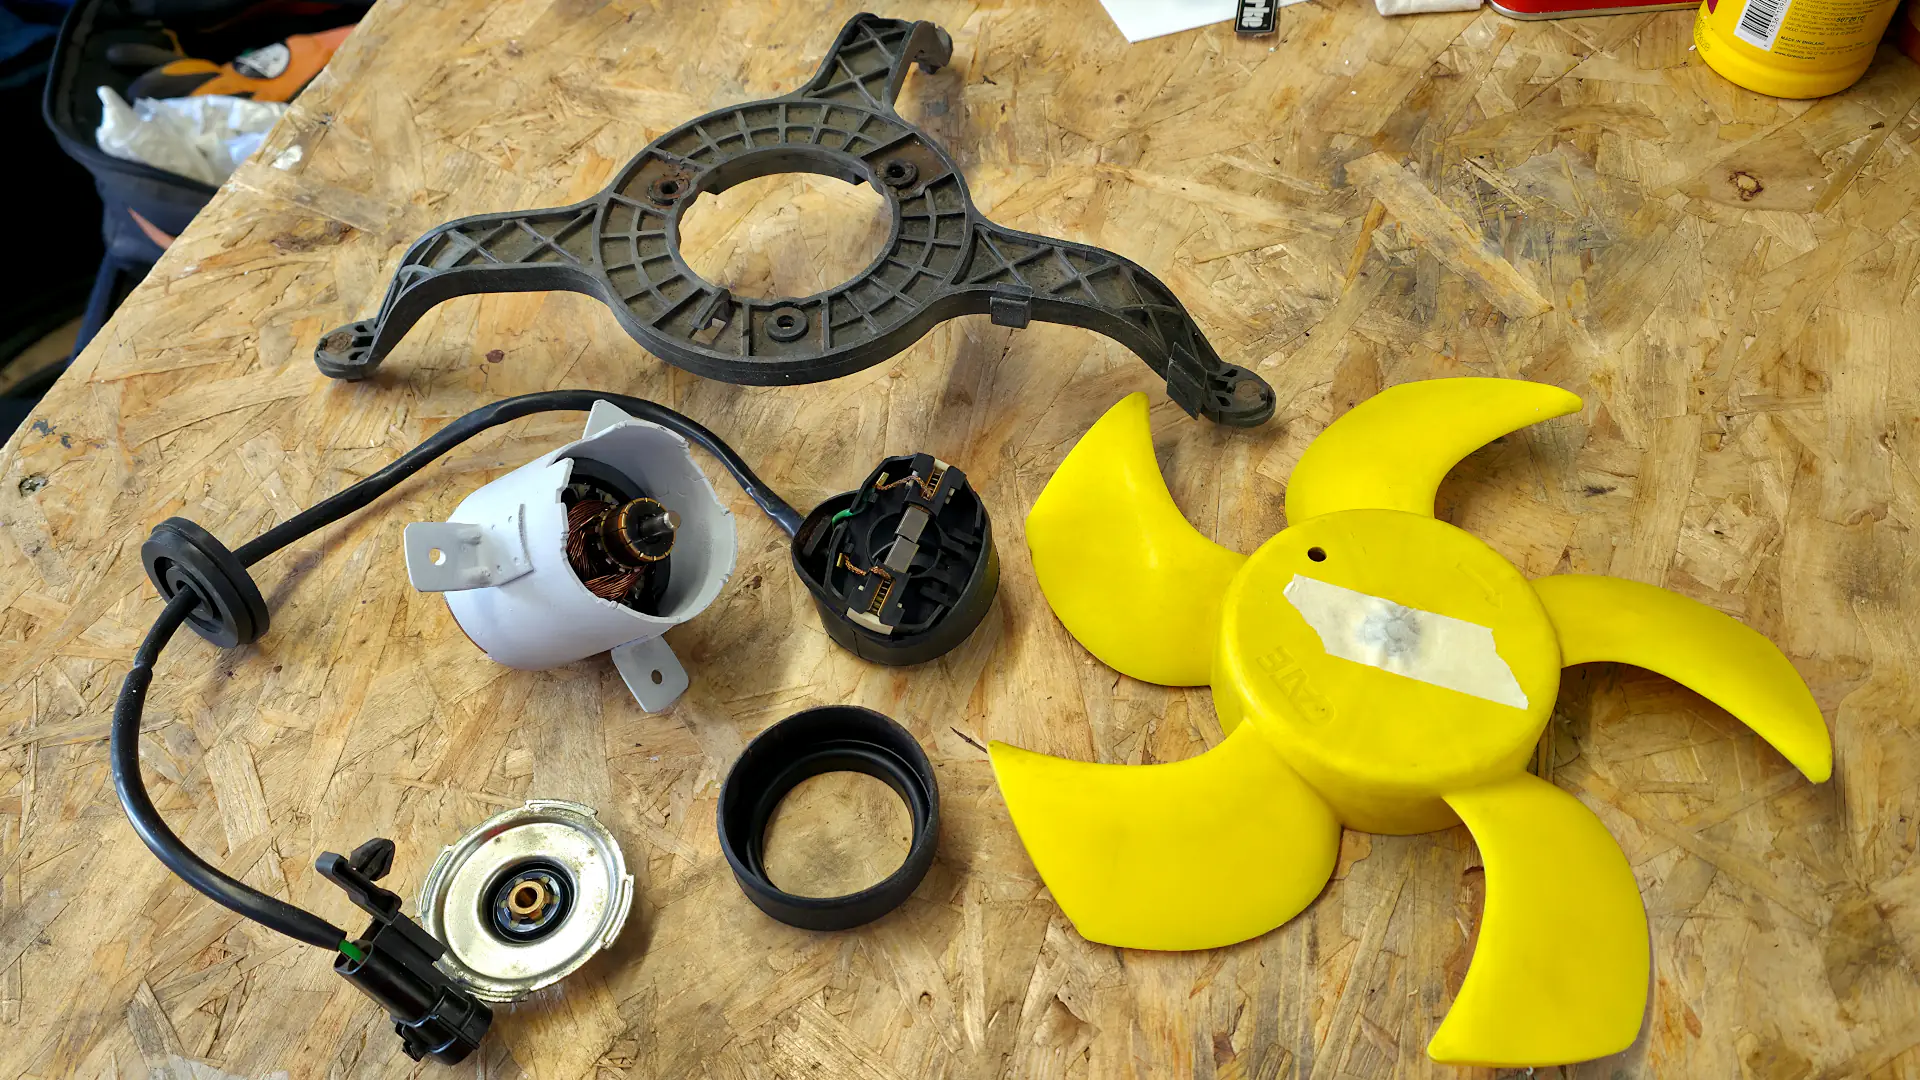
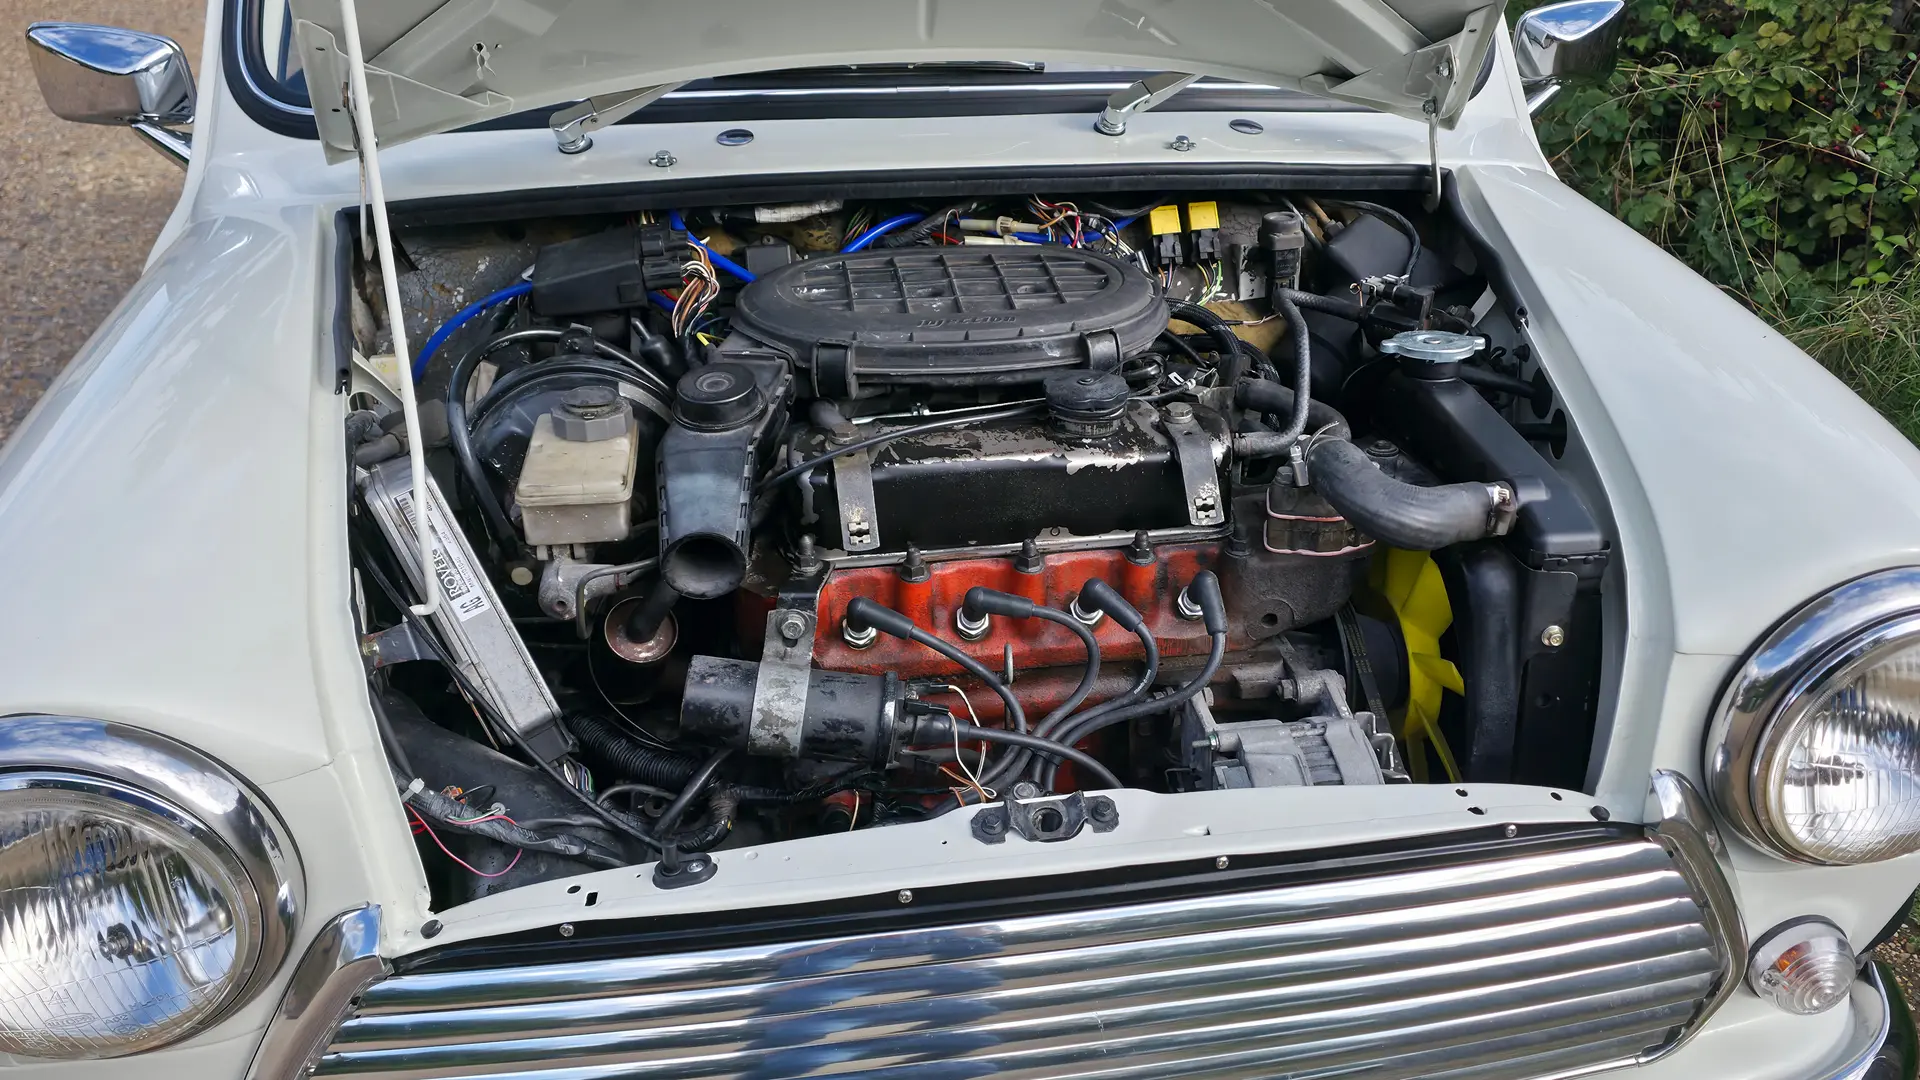
The auxiliary cooling fan's motor was very corroded, I initially thought it was yet another part I'd have to replace, and I was surprised that it still worked when I tested it. So I took it all apart and removed as much of the rust from the body of the motor, before placing it in a zip bag full of Bilt Hamber Deox-Gel.

Once I was left with bare (and rather pitted) metal I painted it with two coats of 1K epoxy primer. I'd intended to reassemble the motor and coat it with the 2K Super Black while painting the fuel tank, but I forgot all about it! So it's gone back on the car just in primer, I'll spray it with a 2K paint the next time I get the paint gun out. All my painting equipment is packed away for the Autumn / Winter now.
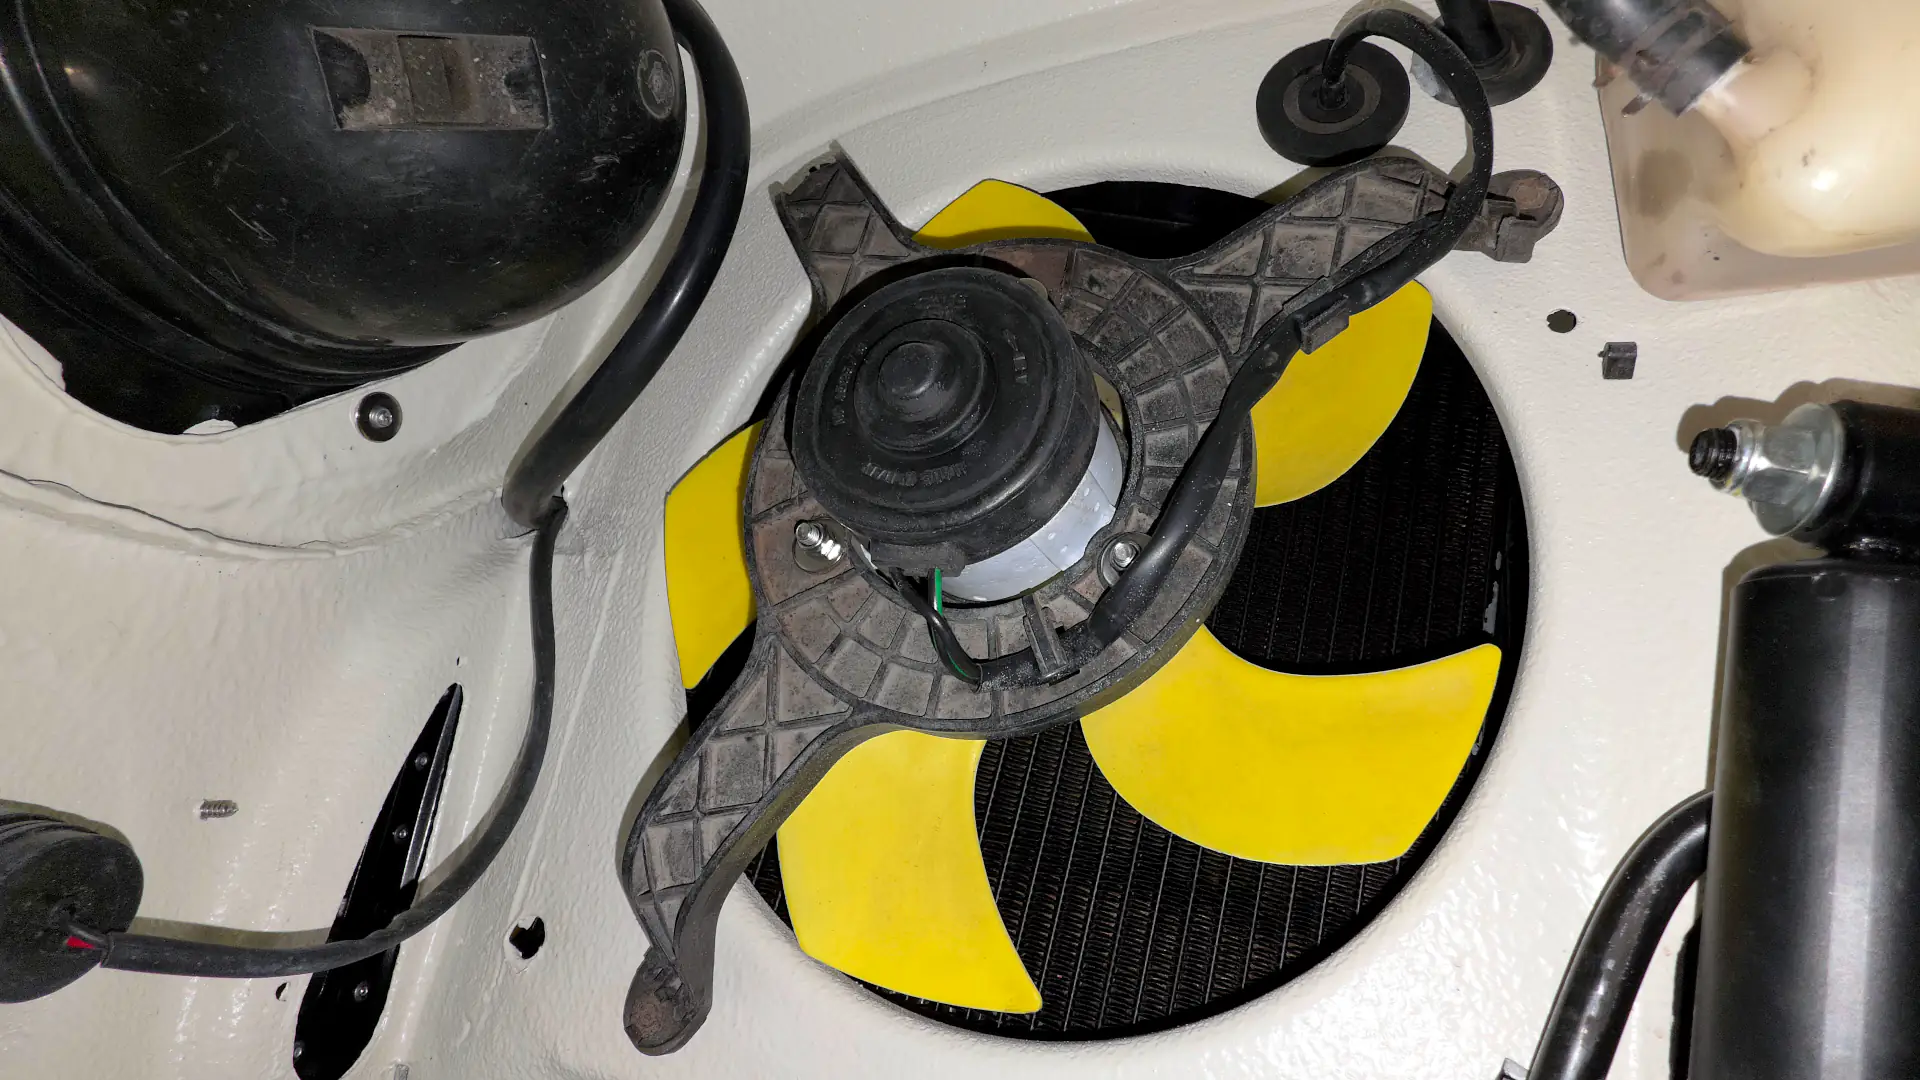
I had to drill out some really tough rivets to separate the fan motor from the plastic frame. When it came time to reassemble I used stainless steel M5x16 bolts, washers and nyloc nuts. I managed to reinstall the fan assembly in the wheel arch without removing the radiator, but it would have been far easier if I'd removed the yellow fan from the motor shaft. It's only held on with a retaining clip which is easily popped off, then the fan can be slid off the shaft and lifted out.


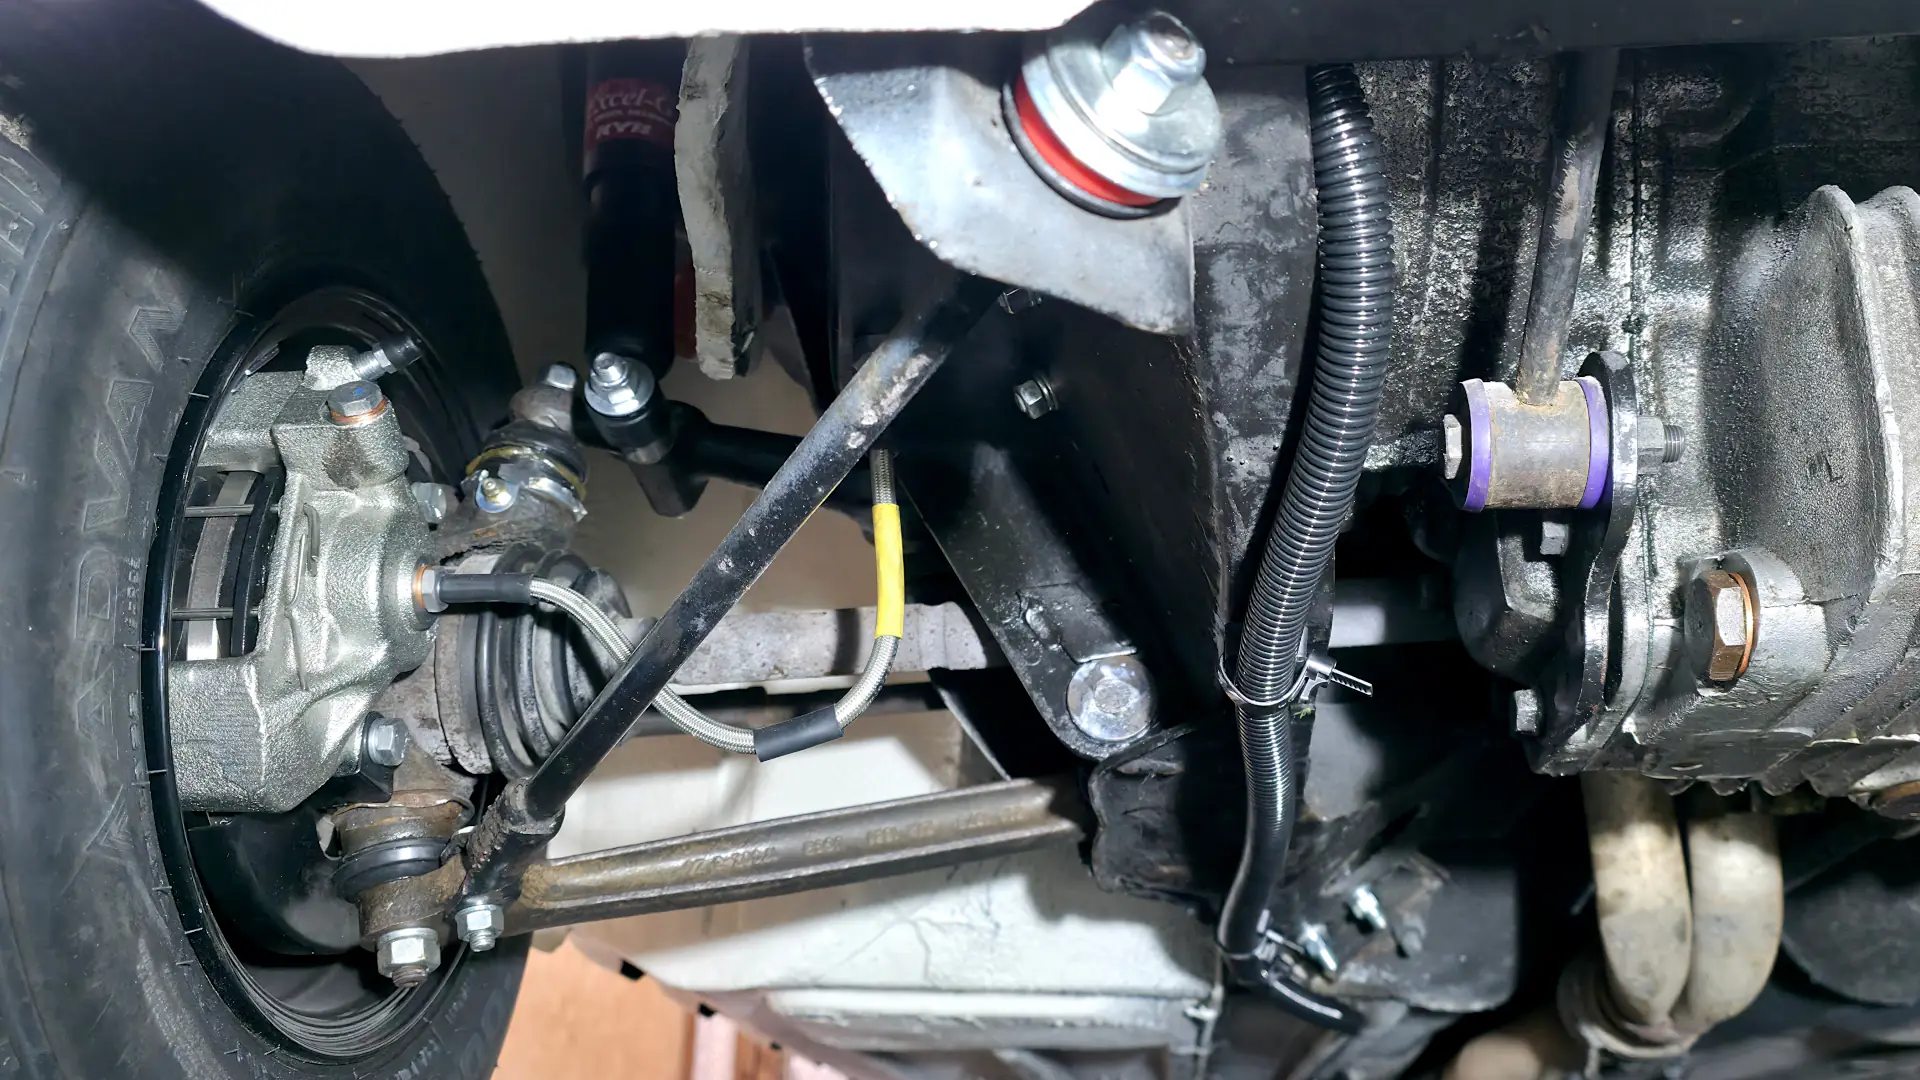
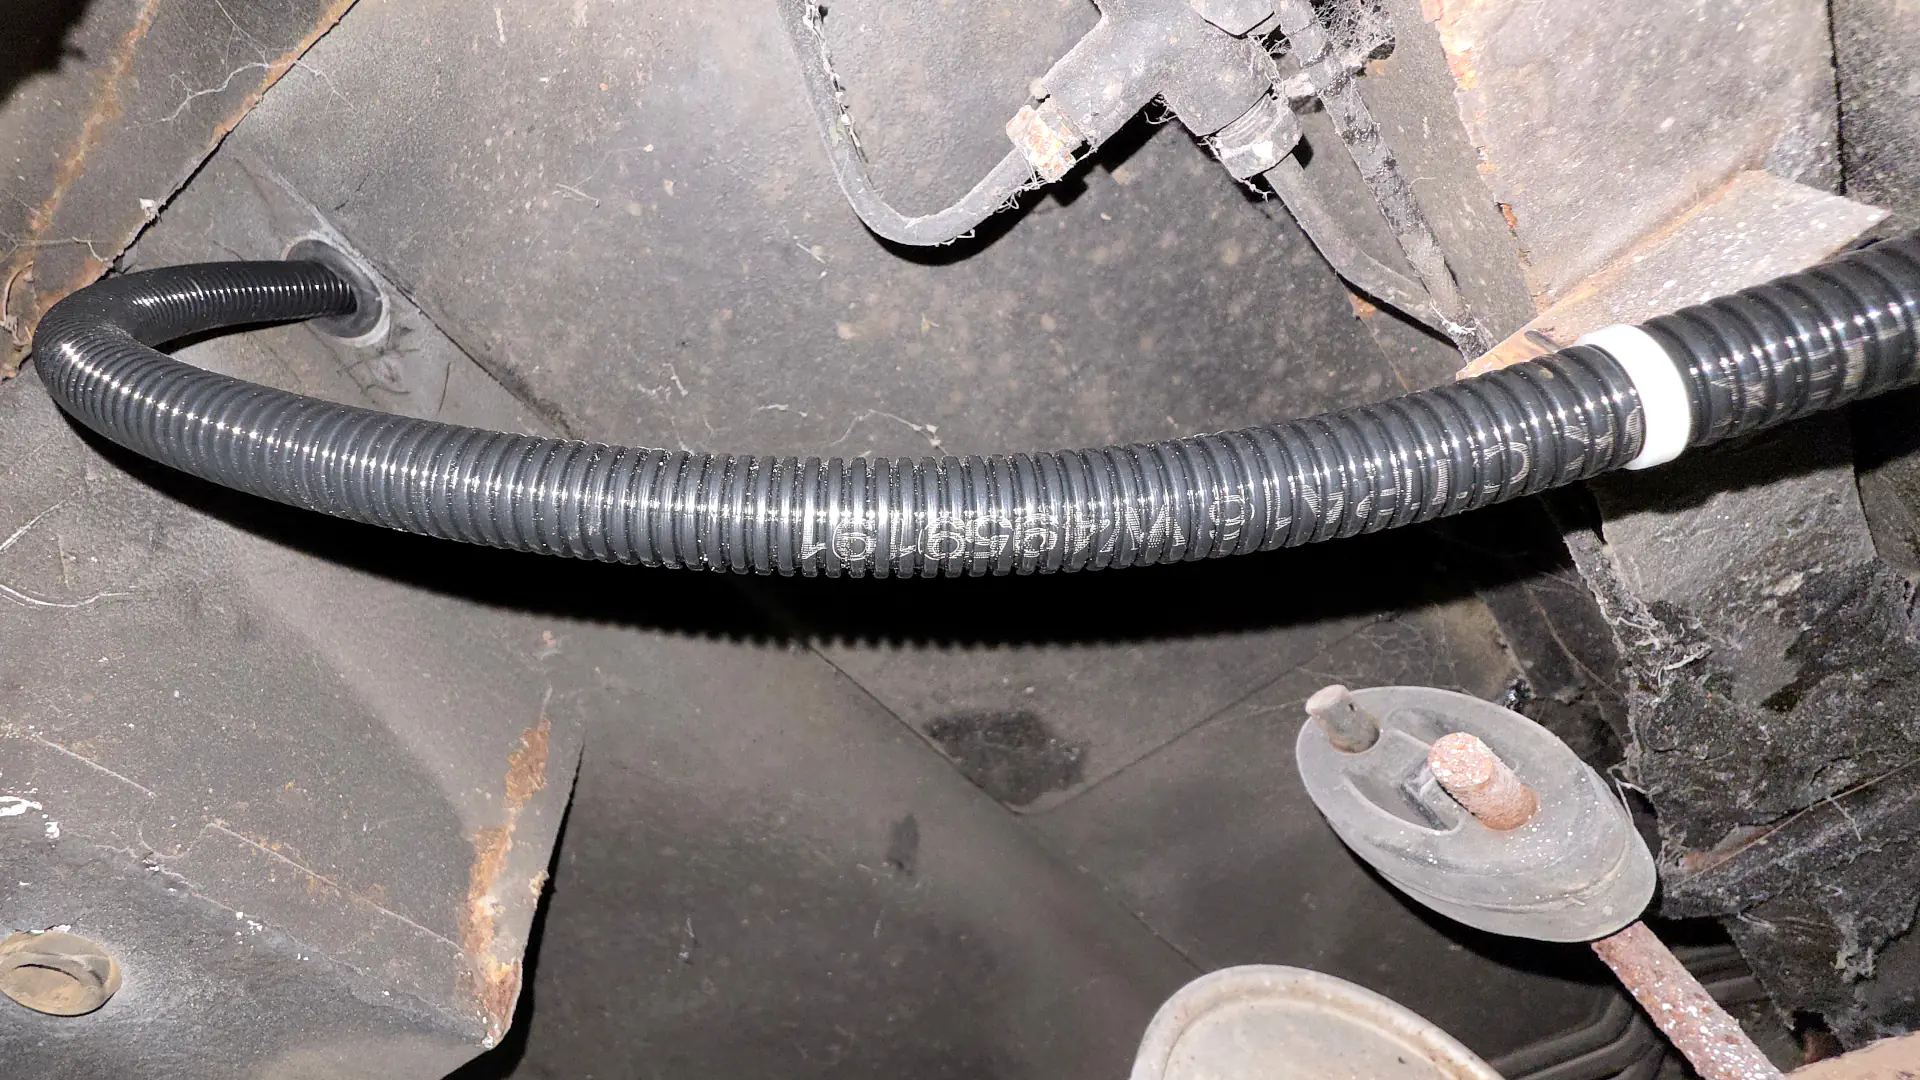

The completed Mini restoration


Videos of priming and painting
My classic Mini history

This is me when I was seventeen with my first Mini, restored on a budget to get it through the MOT, which in August 2000 I passed my driving test in.

My second car was a 1975 Mini Clubman, which was in extremely good condition despite being unrestored and ten years older than my first. There were no rusty sills or floorpans, they were all solid. I reckon it'd had some kind of rust treatment early on in its life. The first owner had kept the car 25 years, and it had a full service record. This photo was taken at Mini In The Park in August 2001, back when this yearly event was hosted at Cornbury Park in Oxfordshire.

After the Clubman I wanted something with a more powerful engine and servo assisted disc brakes. The single circuit all-round drum brakes on the Clubman were scary at times, especially after driving through water! So in 2001 when I was eighteen I bought this five year old Mini Sprite SPI, it was a steal at £1900 with only 52K on the clock!
It was a great car to drive, even more so once I'd fitted some 12x5" Minilites with 165x70 Falken tyres. The only other changes I made were adding a chrome Cooper grill and an RC40 single centre exit exhaust.

Doing some welding on a Mini clubman, and having a beer-break, early part of 2002 when I was nineteen. I still have those axle stands! They're the ones I'm using to support the front subframe on my current Mini project.